Features to look for when identifying ground stone tools.
I feel that it is very important that you are able to critically analyze each piece you are about to see. You will not see classic knapping methods being used to create these tools and unfortunately it has been my experience that very few people actually know what to look for when the primary form of lithic reduction used was chipping, pecking and grinding so, to begin, I would like to show you what to look for. If you are interested, I would recommend the book “Ground Stone Tool Analyses, A Technological Approach by Jenny Adams for reference
The marks and features that you are about to see, you will see in all of the pieces in my collection. You will also see these same shapes, marks, and features in collections of lithic tools in museums and private collections around the world.
The first feature and probably the second most controversial aspect of the lithic tools I find is that the vast majority were made using the same pecking and grinding techniques. Flaking by chipping close to an edge was used, but I do not find any obvious evidence of knapping. Because of this, the most common feature to look for on these tools are pecking marks. You will see them anywhere you see the obvious removal of material.
Unlike broad-based hammer stones, the pecking marks you will see on the tools I find were made by fairly sharp, .5-3mm pecking stones. I have found dozens of different examples of tools at this site that may have been used for this purpose.
Here are a few examples.
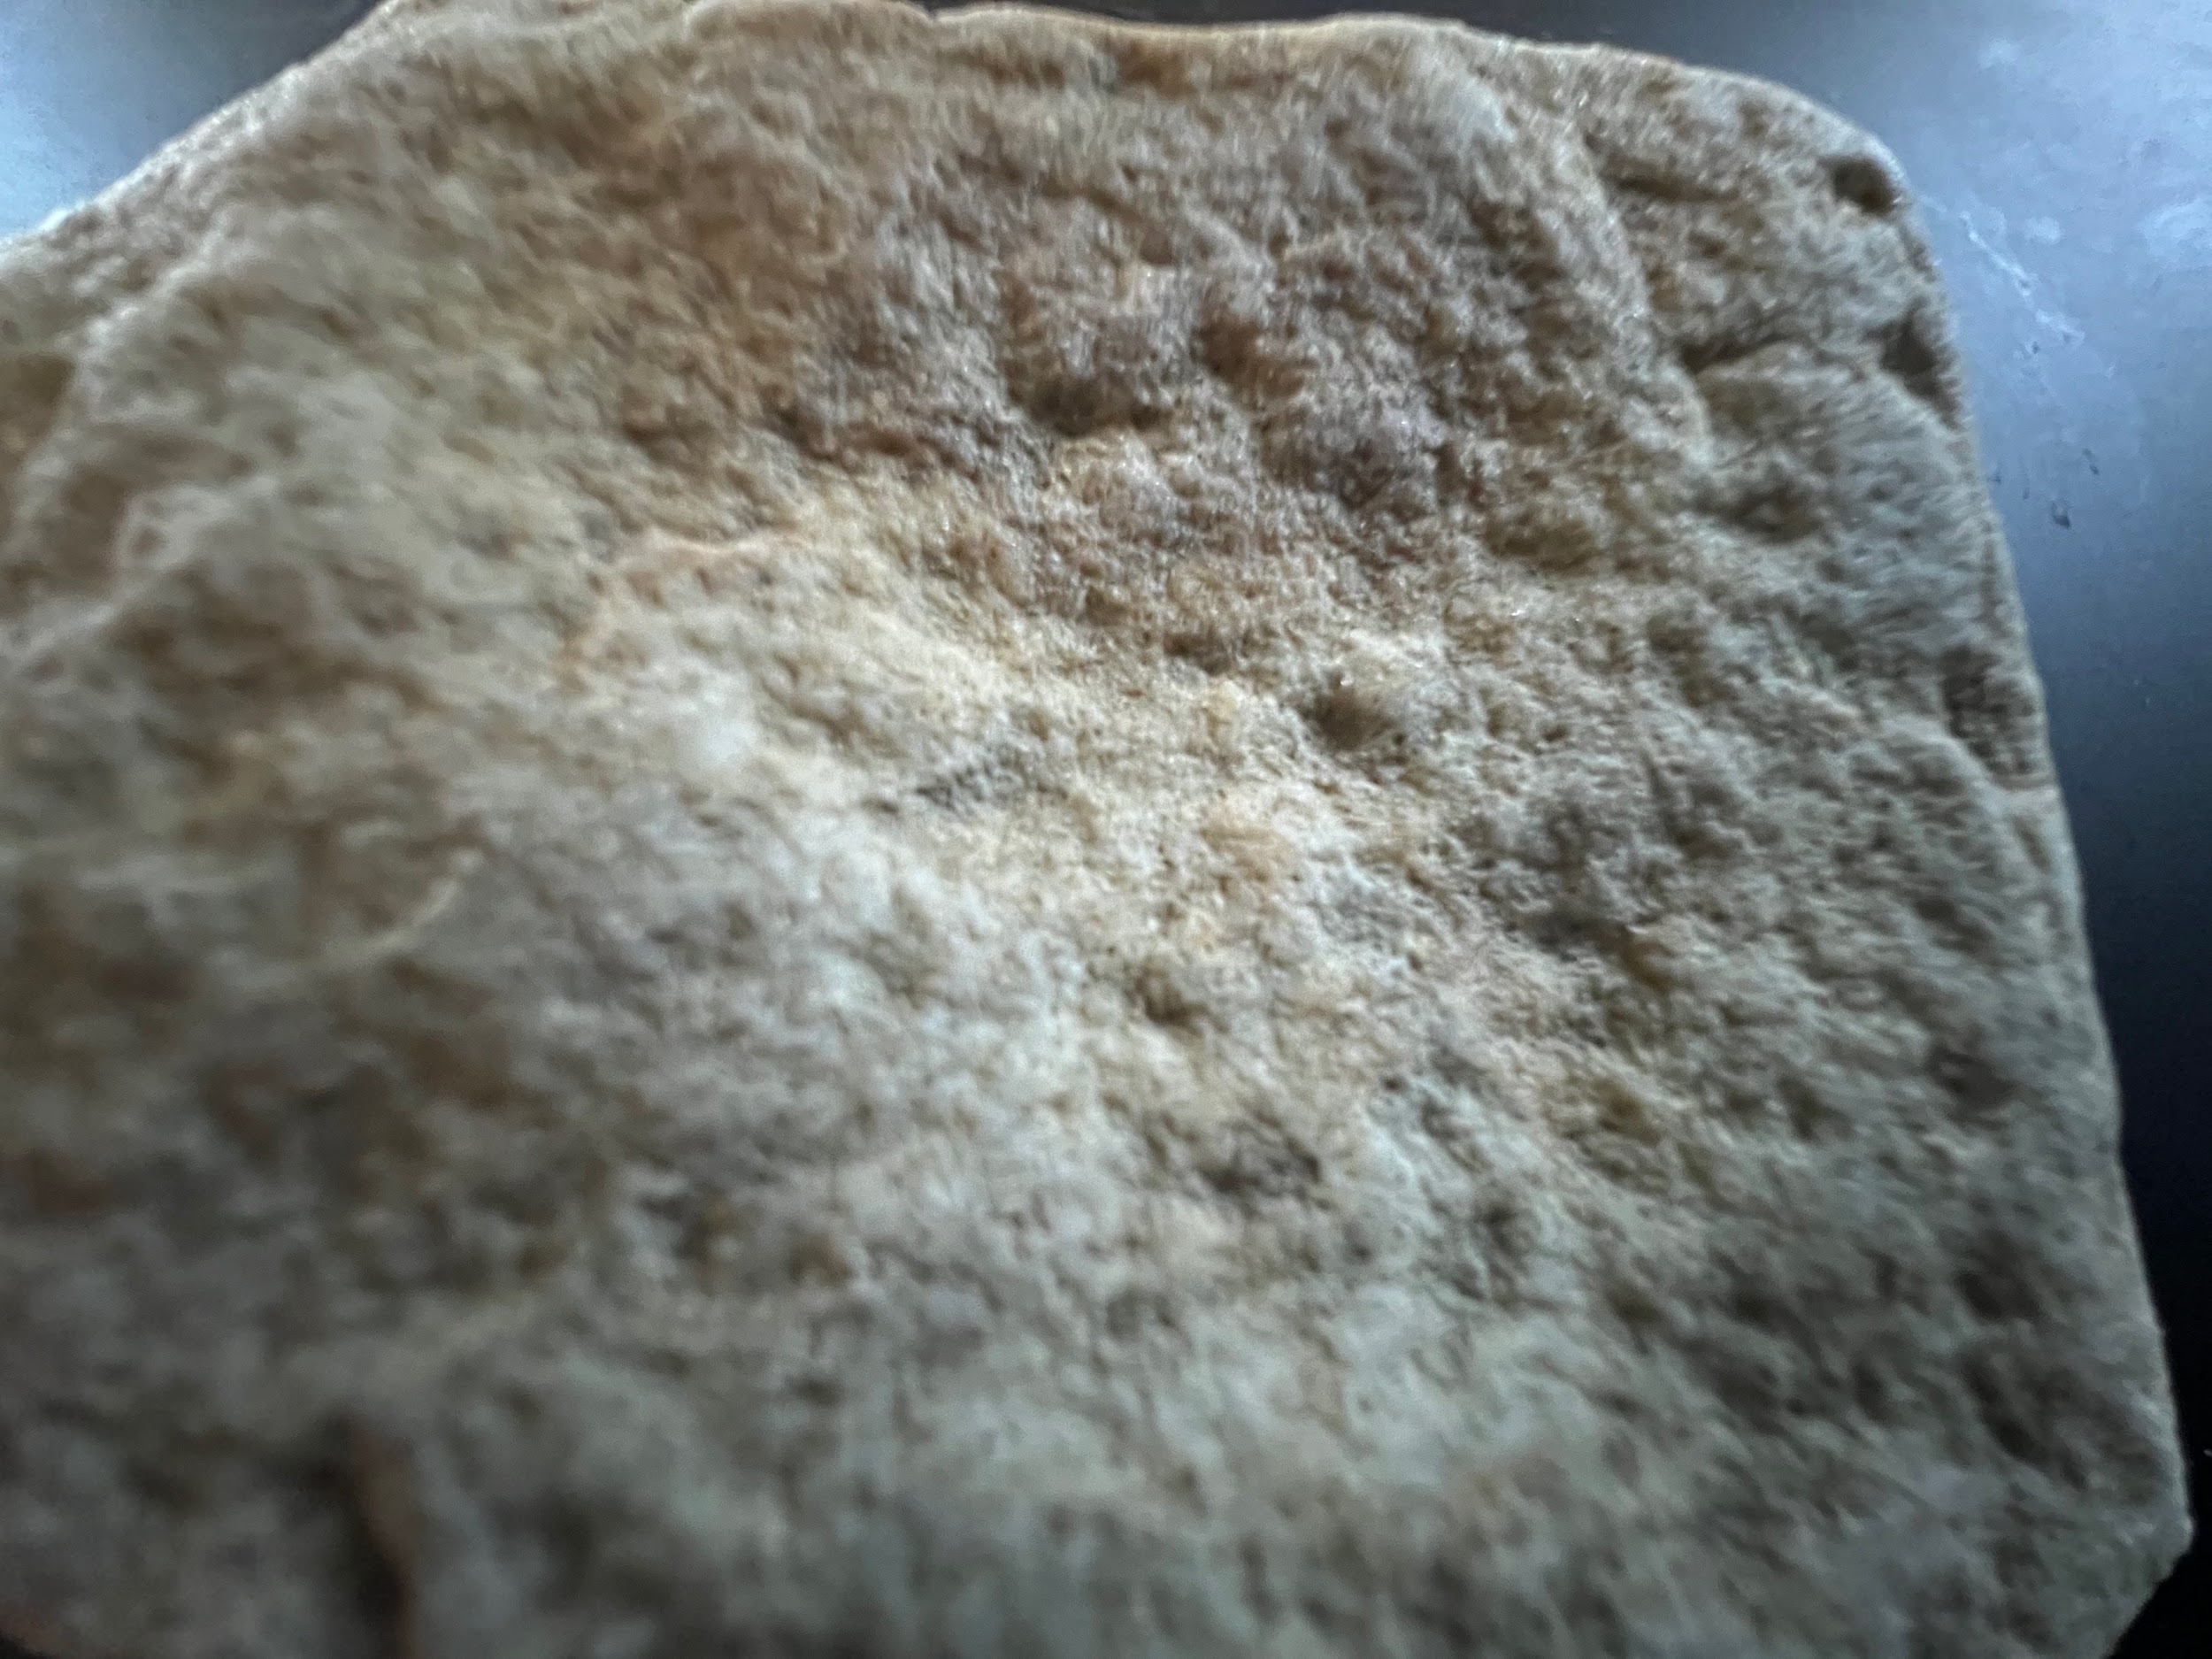
The texture that results from pecking with a relatively sharp pecking stone, unless removed by subsequent grinding and polishing, looks very similar to the outer skin of an orange.
If you look closely at these tools, you will see repeated strikes from a similarly sized pecking stone. On some of these tools, under magnification, you can clearly see the degradation of the tip of the pecking stone as it was being used.
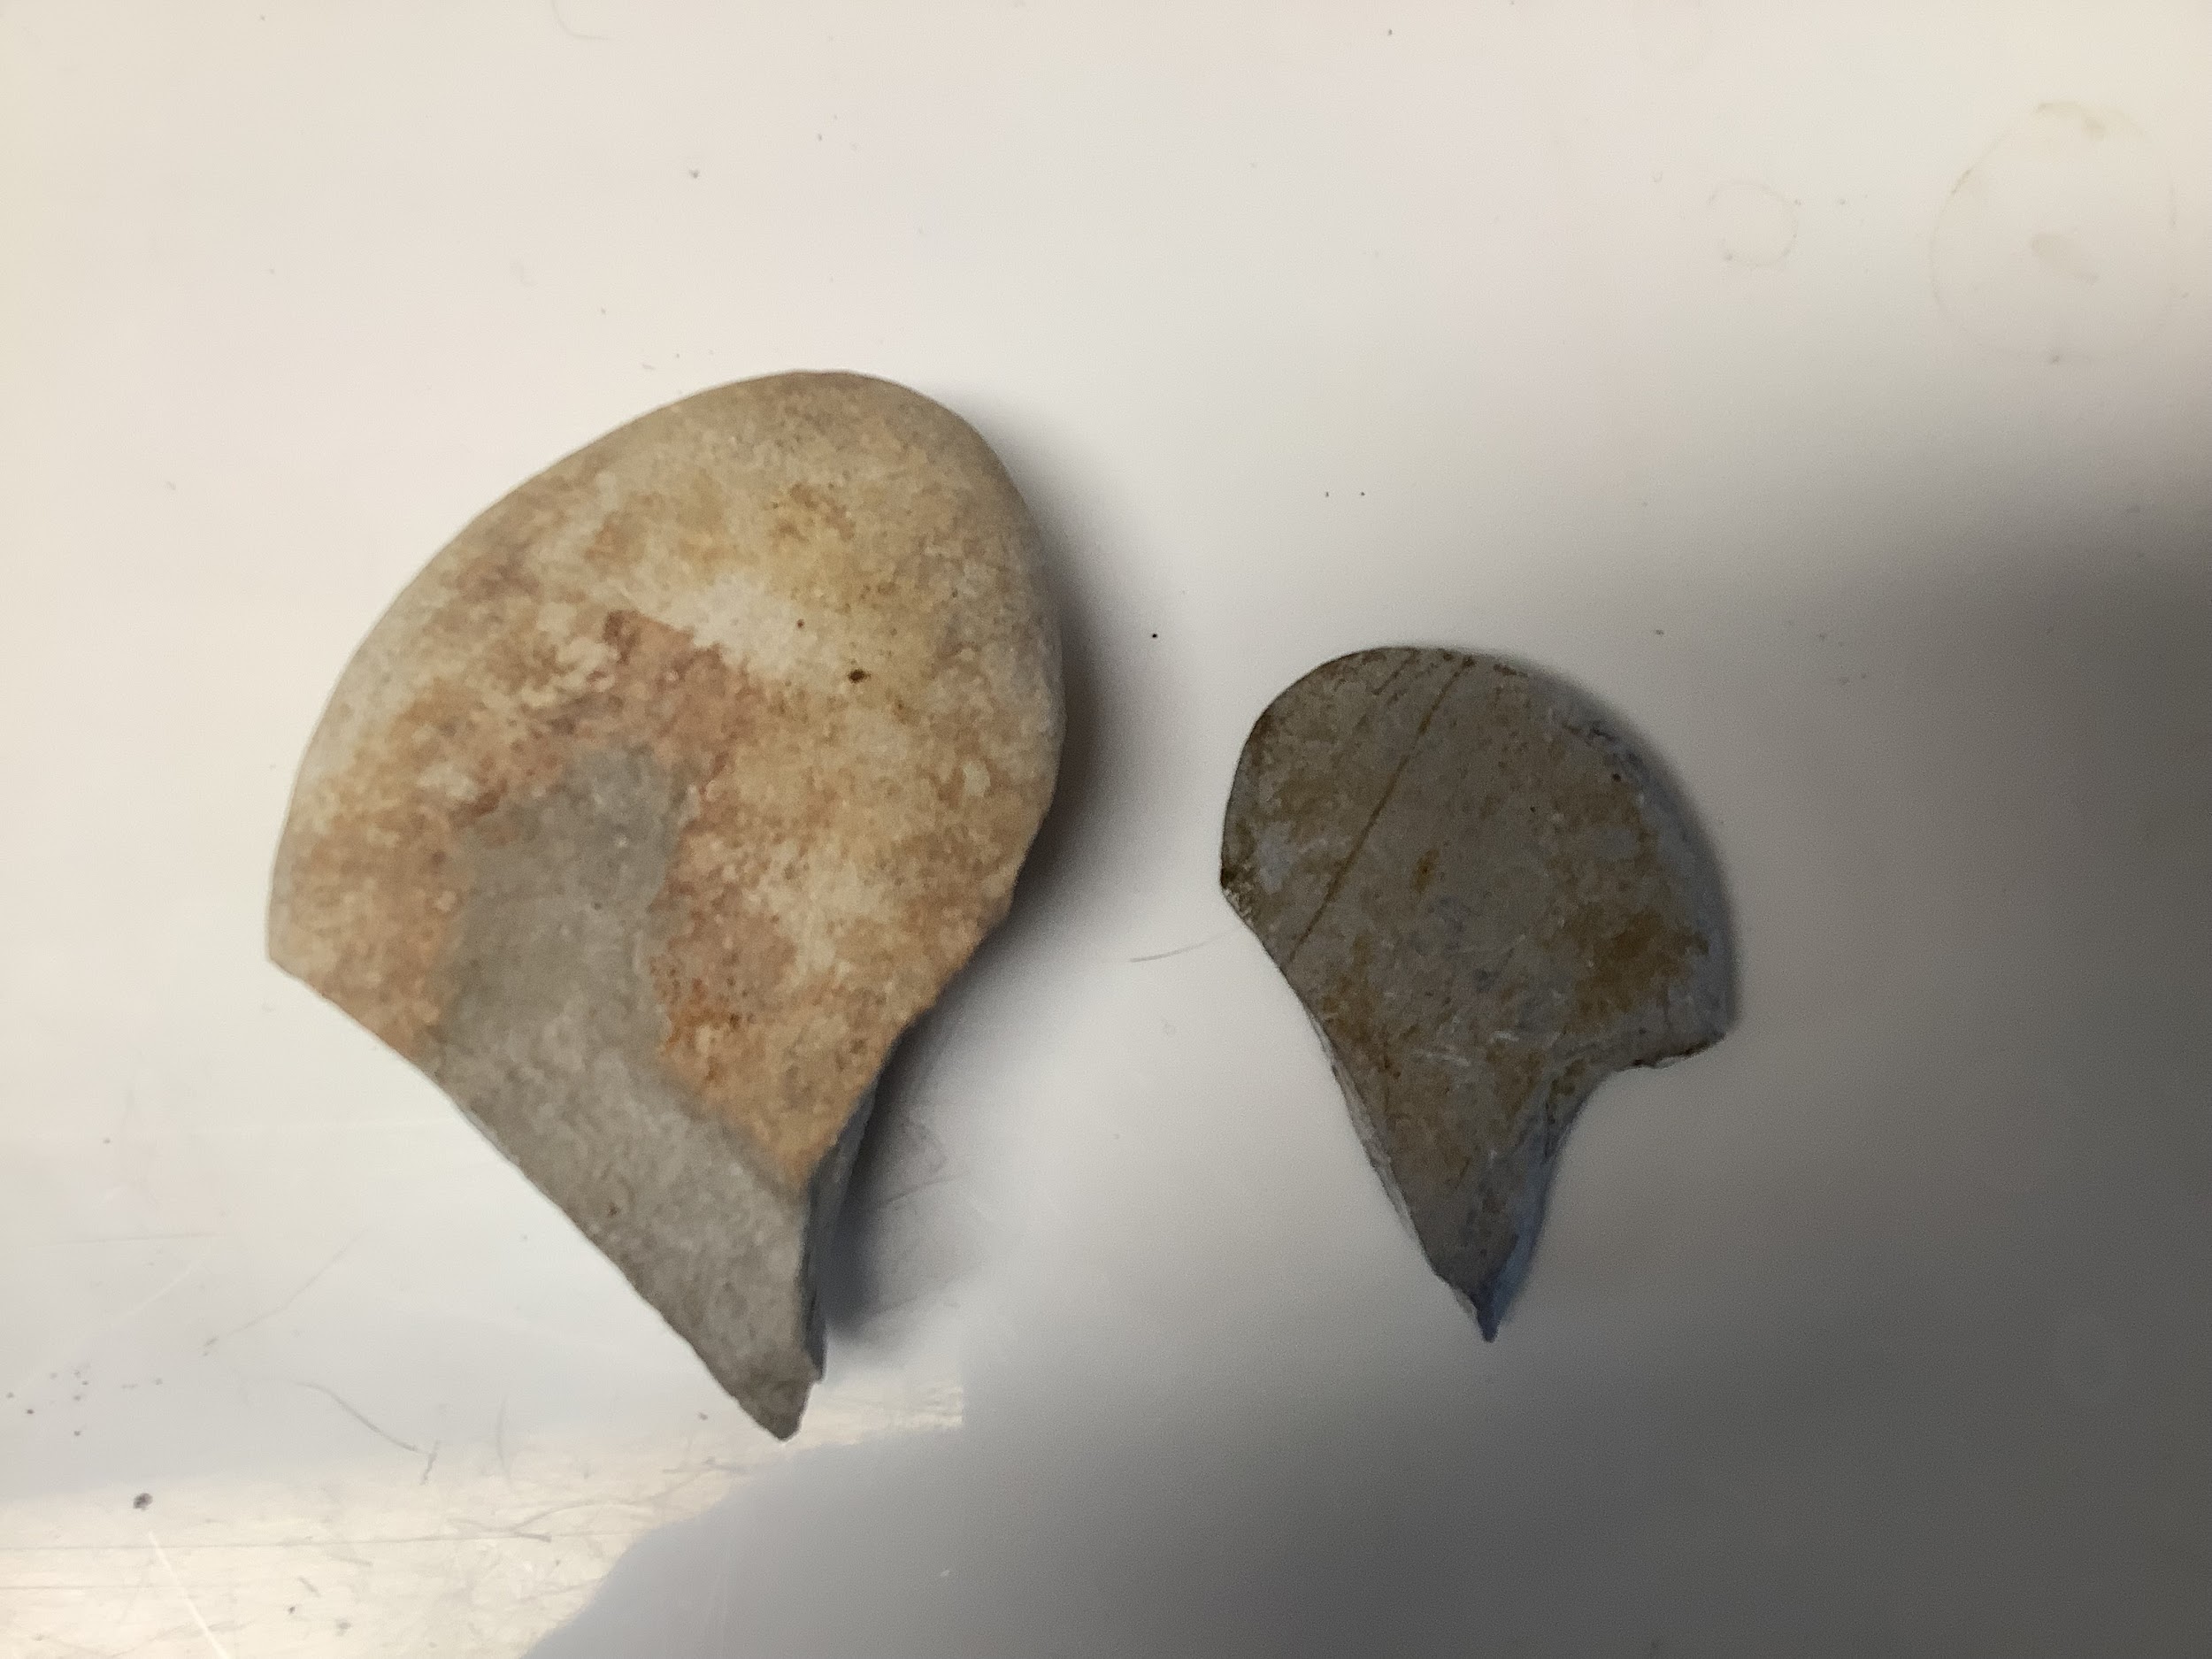
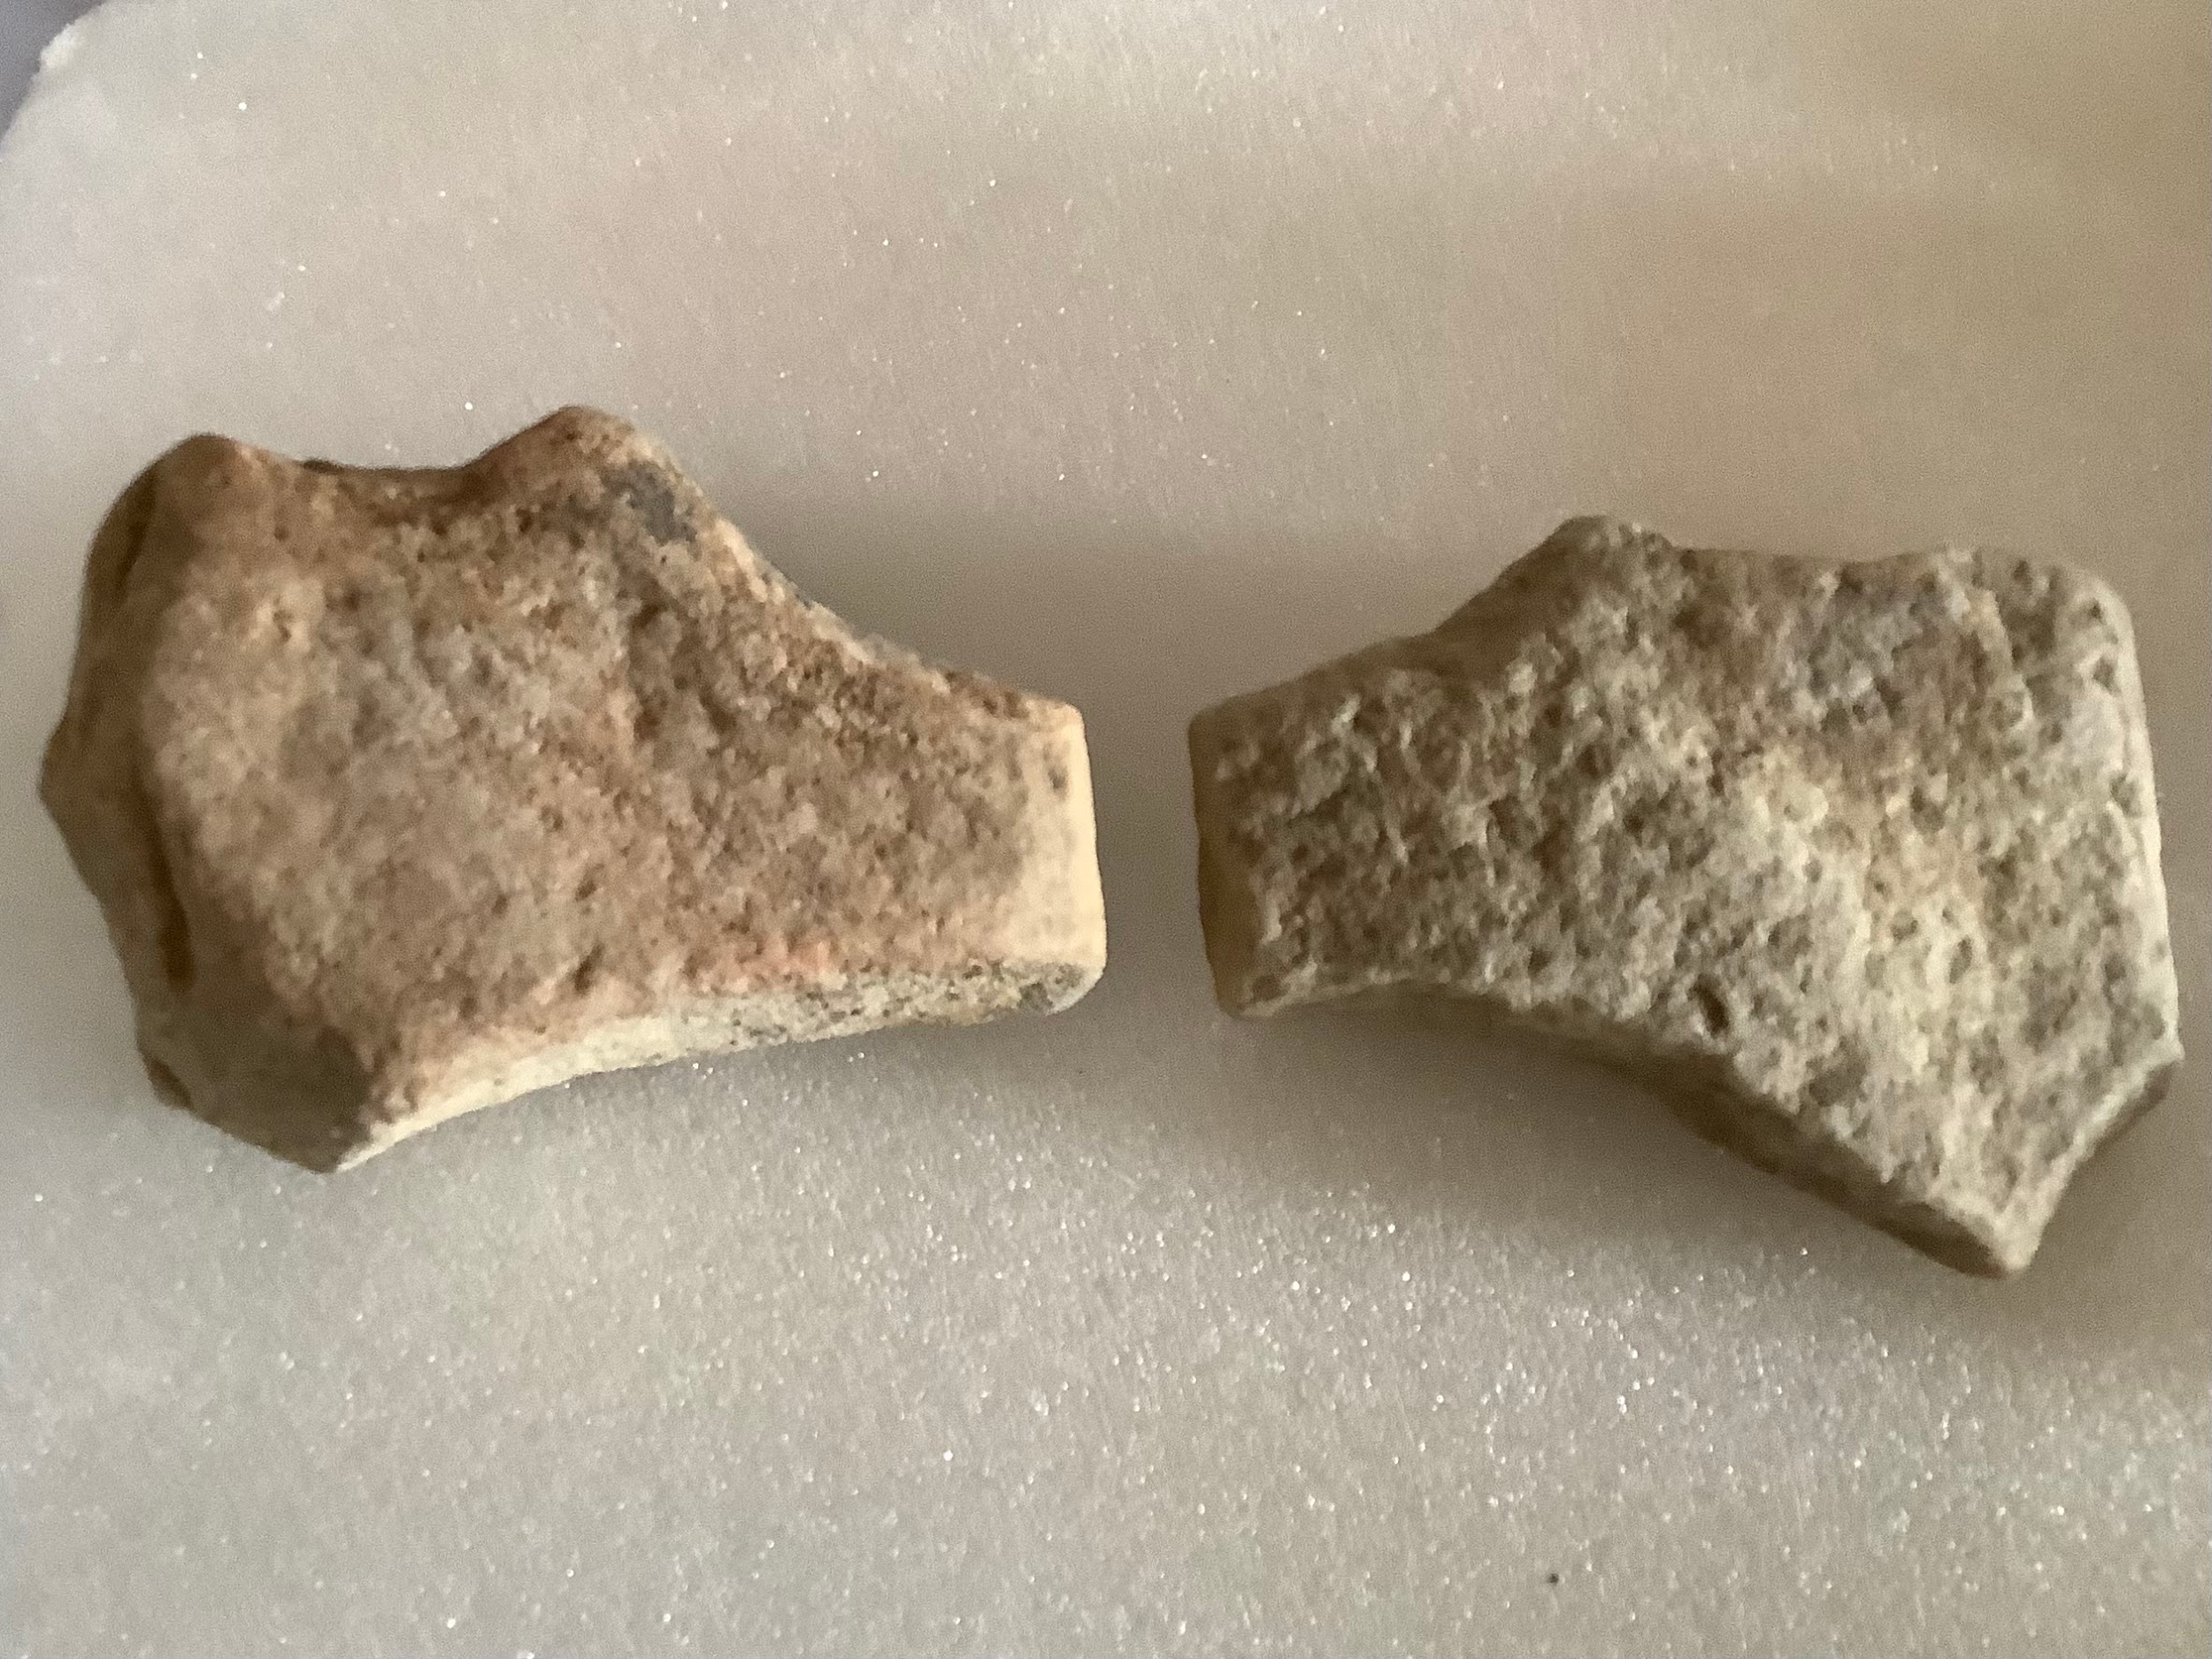
I found this next pair within 50 feet of each other. Both were made with the same size pecking stone. They are very close in all dimensions, including the locations and dimensions of several different sizes of concave grooves. Both have some orange residual stains that are similar in colour to the orange residual stains visible on the tools above. I call this shape “moose antlers,” and it is a common, repeating shape.
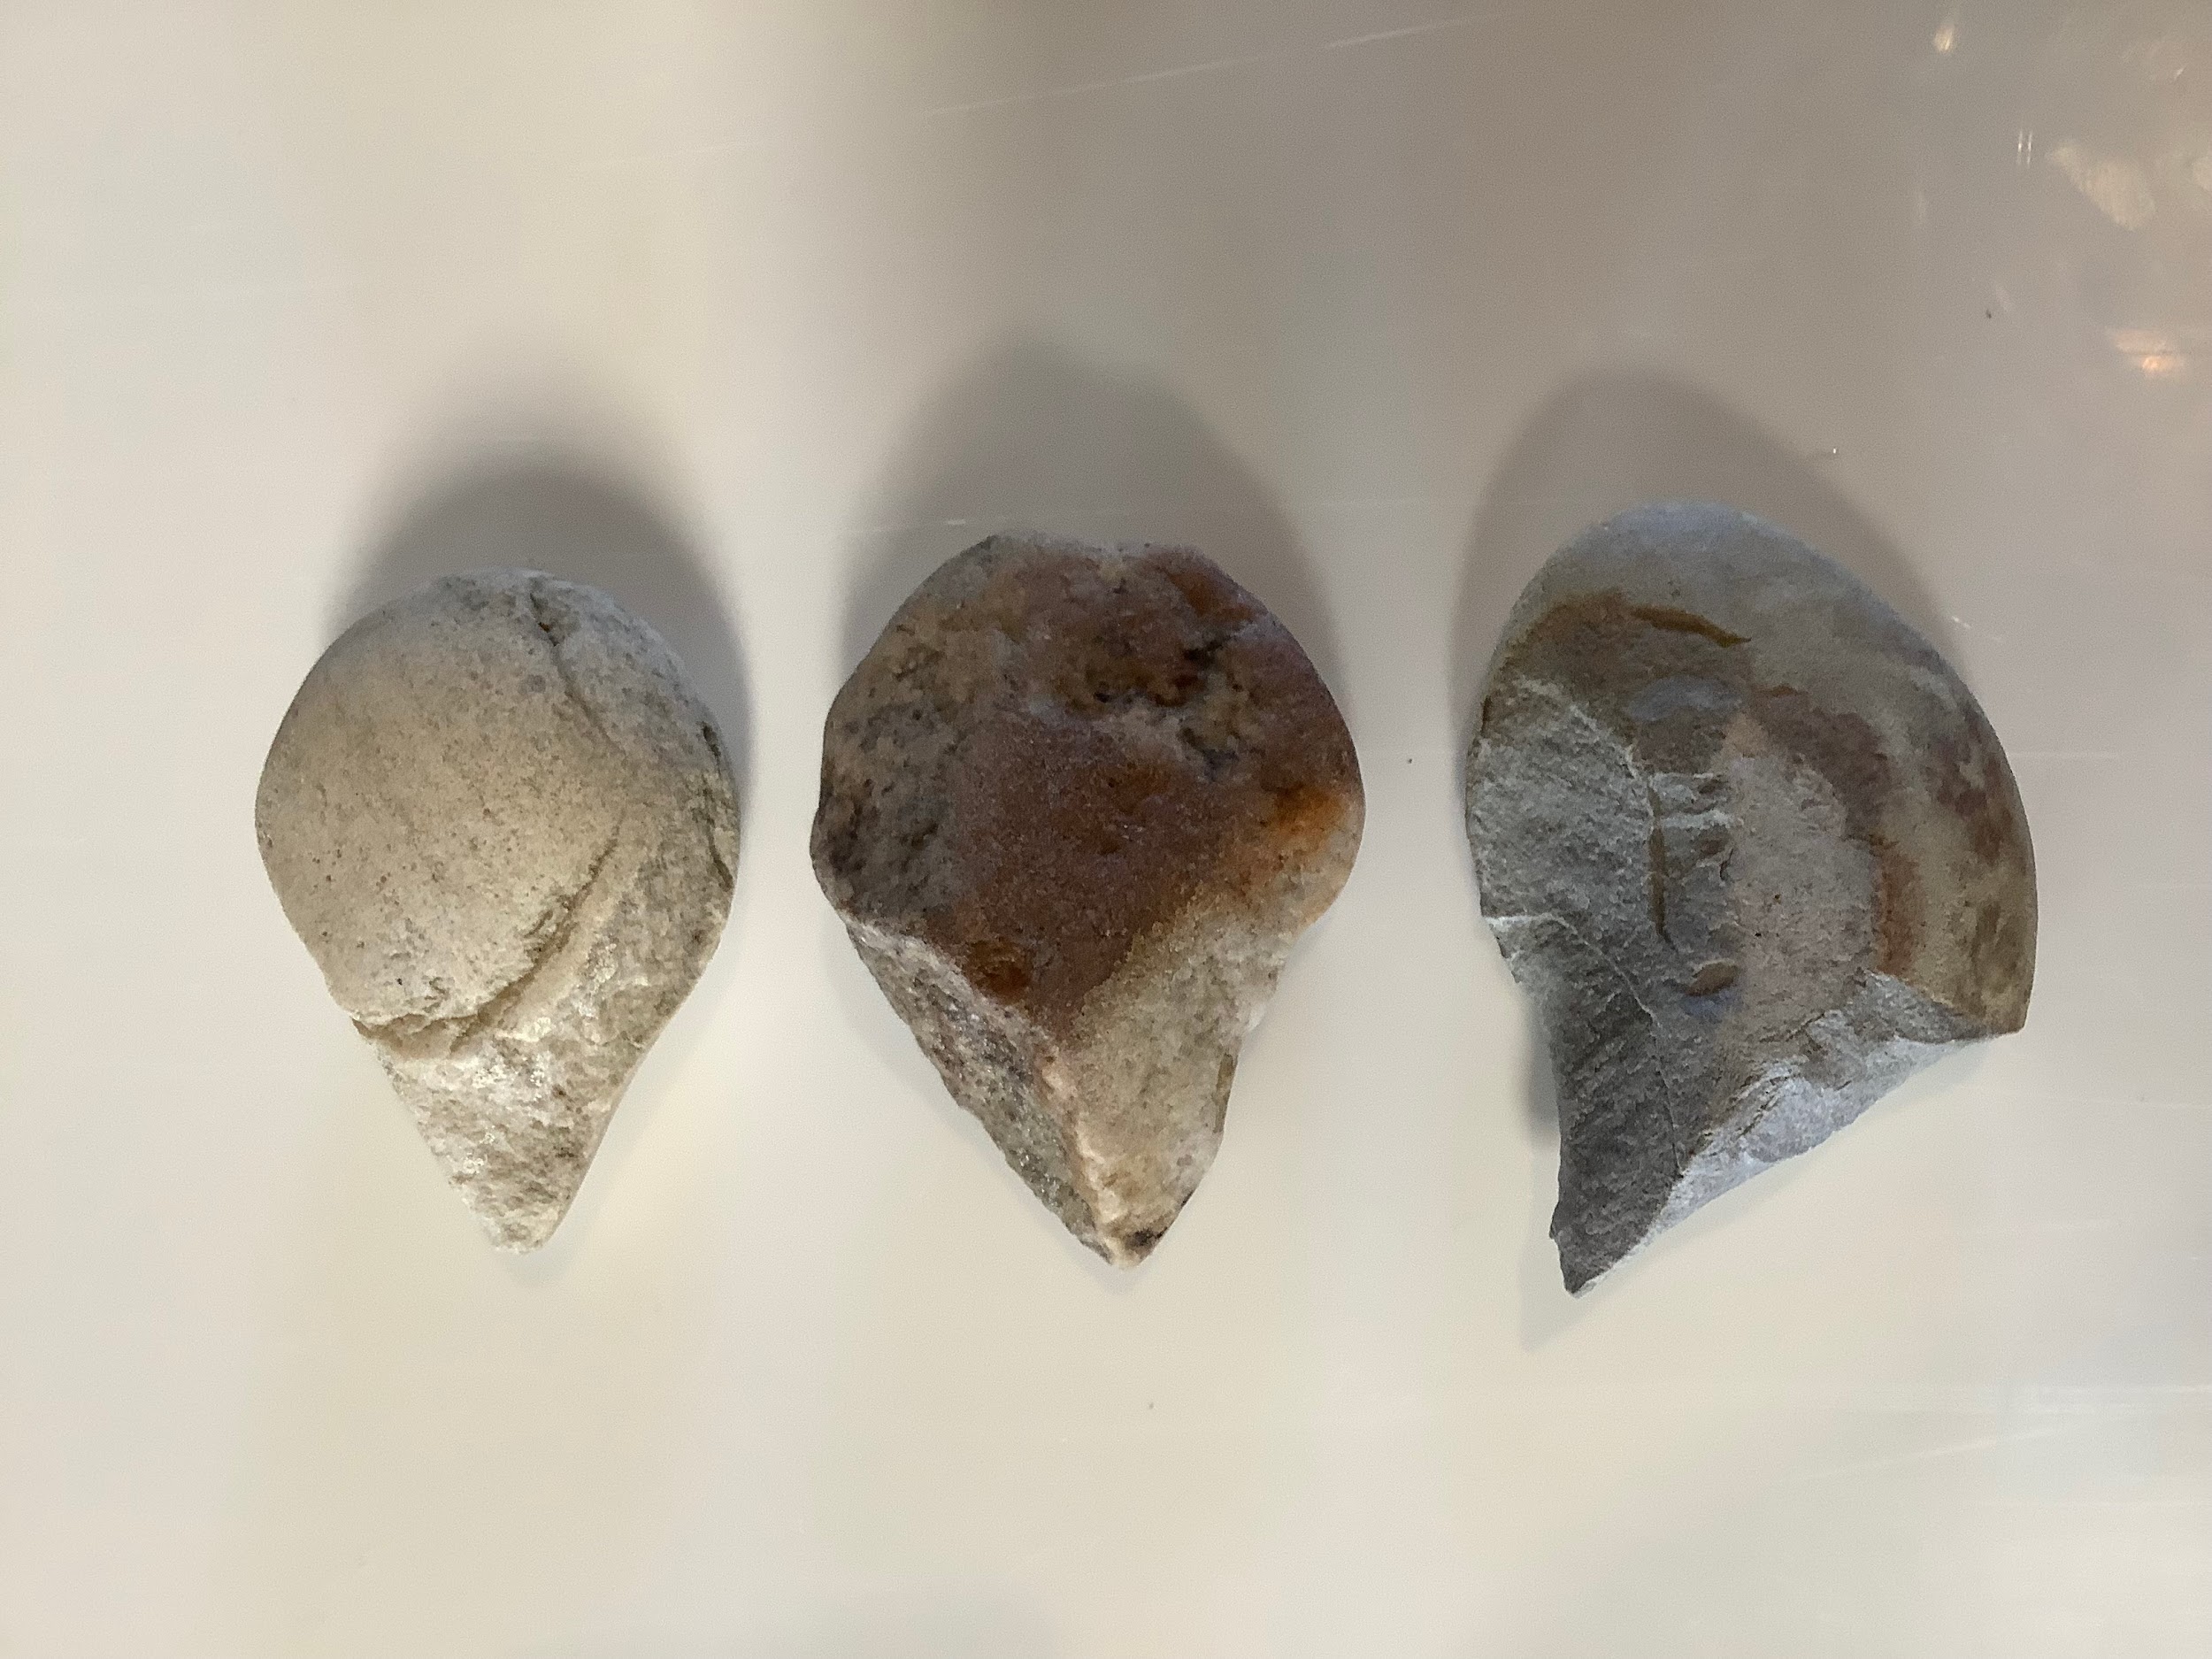
All the tools I find that have similar shapes share similar marks and features in the same areas.
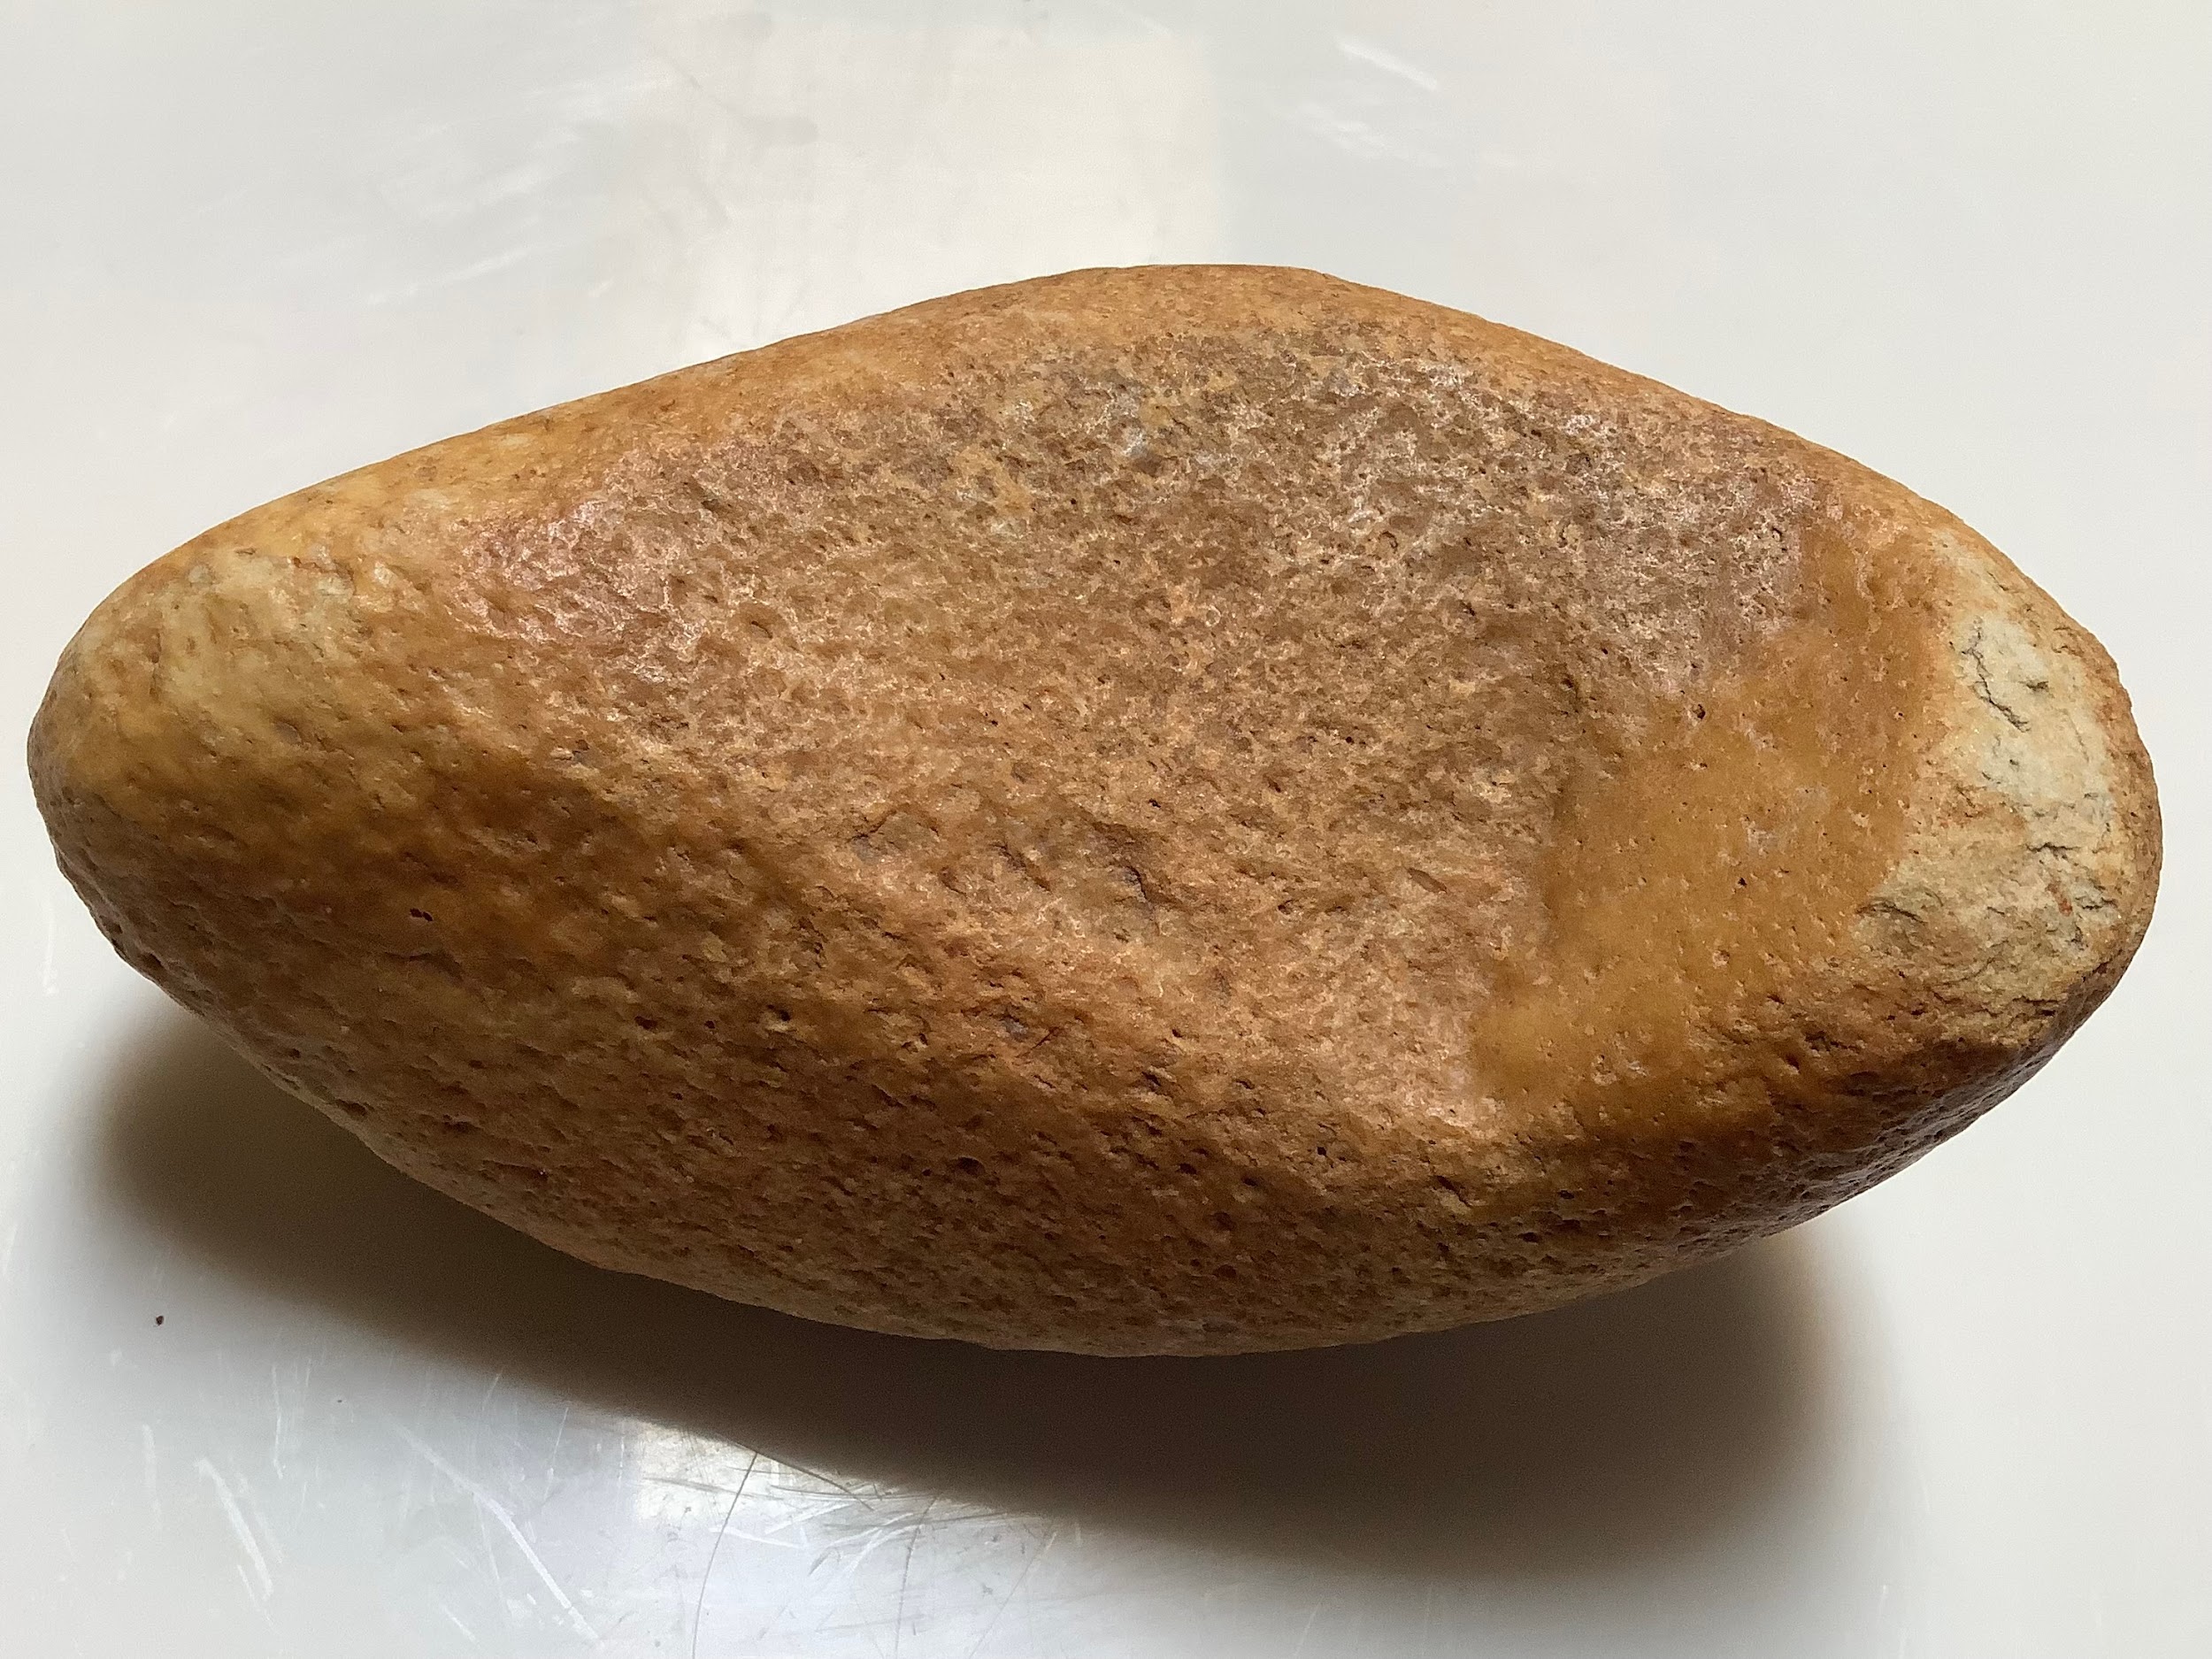
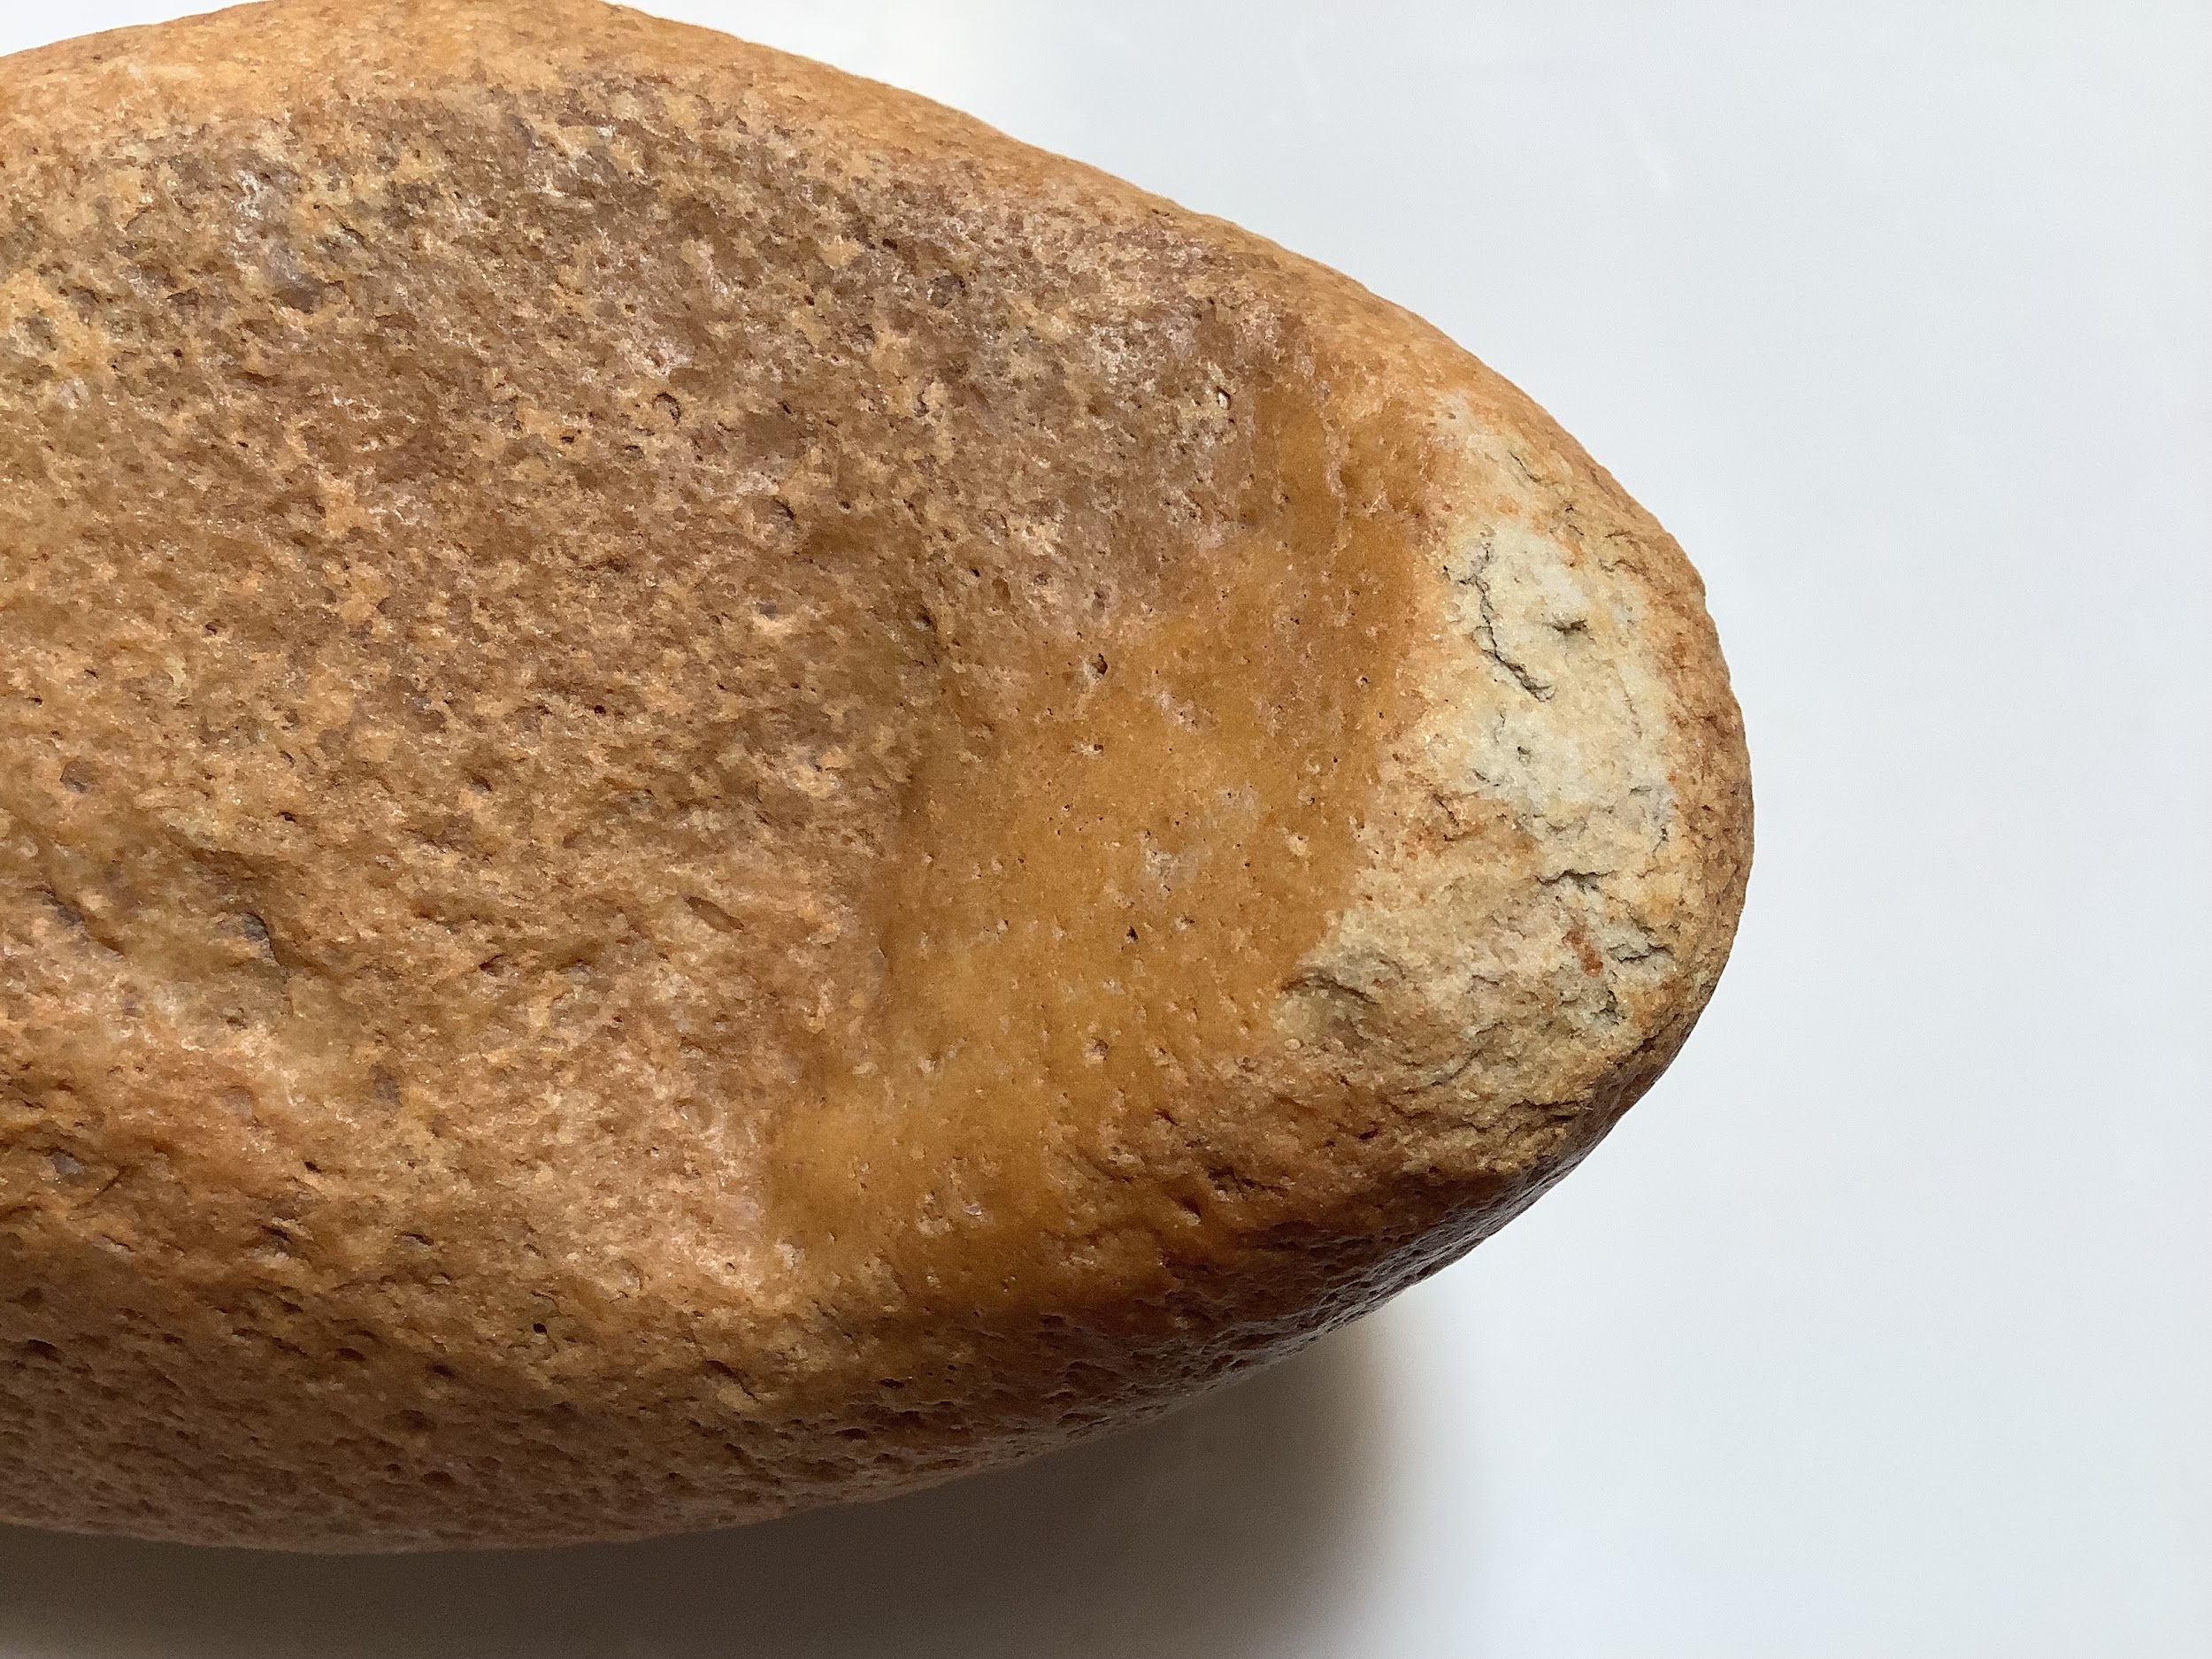
You can easily see the orange peel texture made by a pecking stone, where there is the obvious removal of material on this next tool.
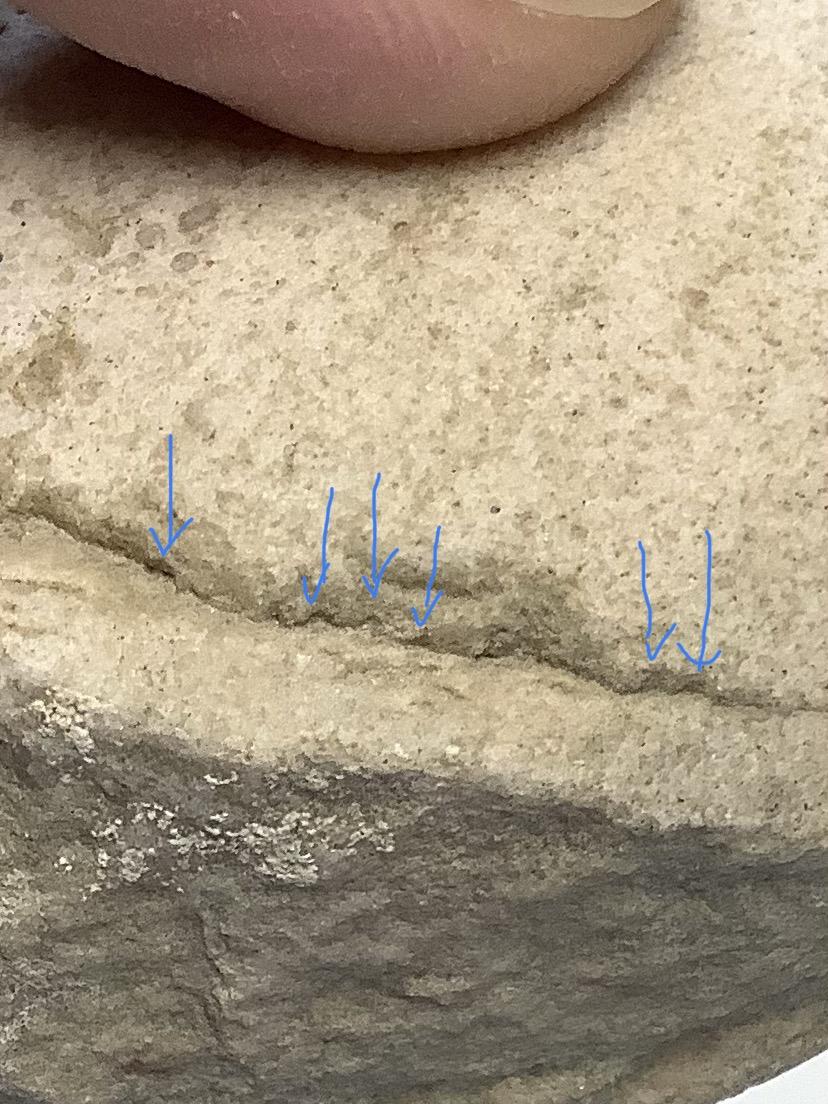
If you look closely at the small transition ledge that was created by pecking, you can see repeating marks made from the same size and shape pecking stone. I have highlighted a few examples that, under magnification, look like they were made by the same-sized round-tipped tool.
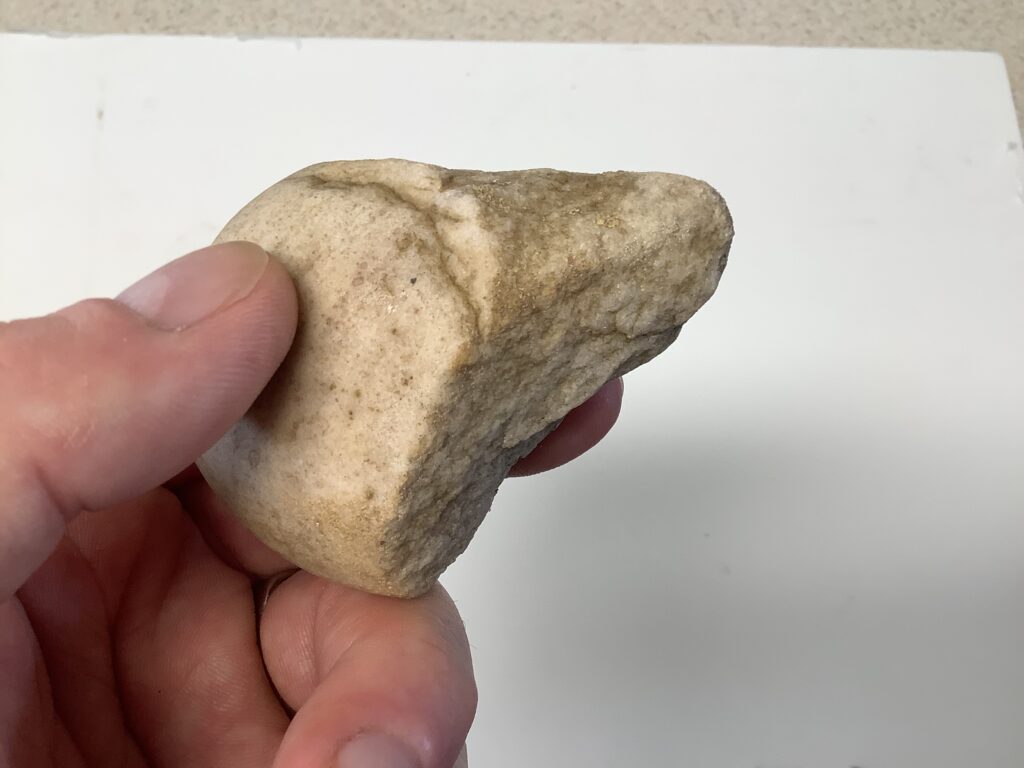
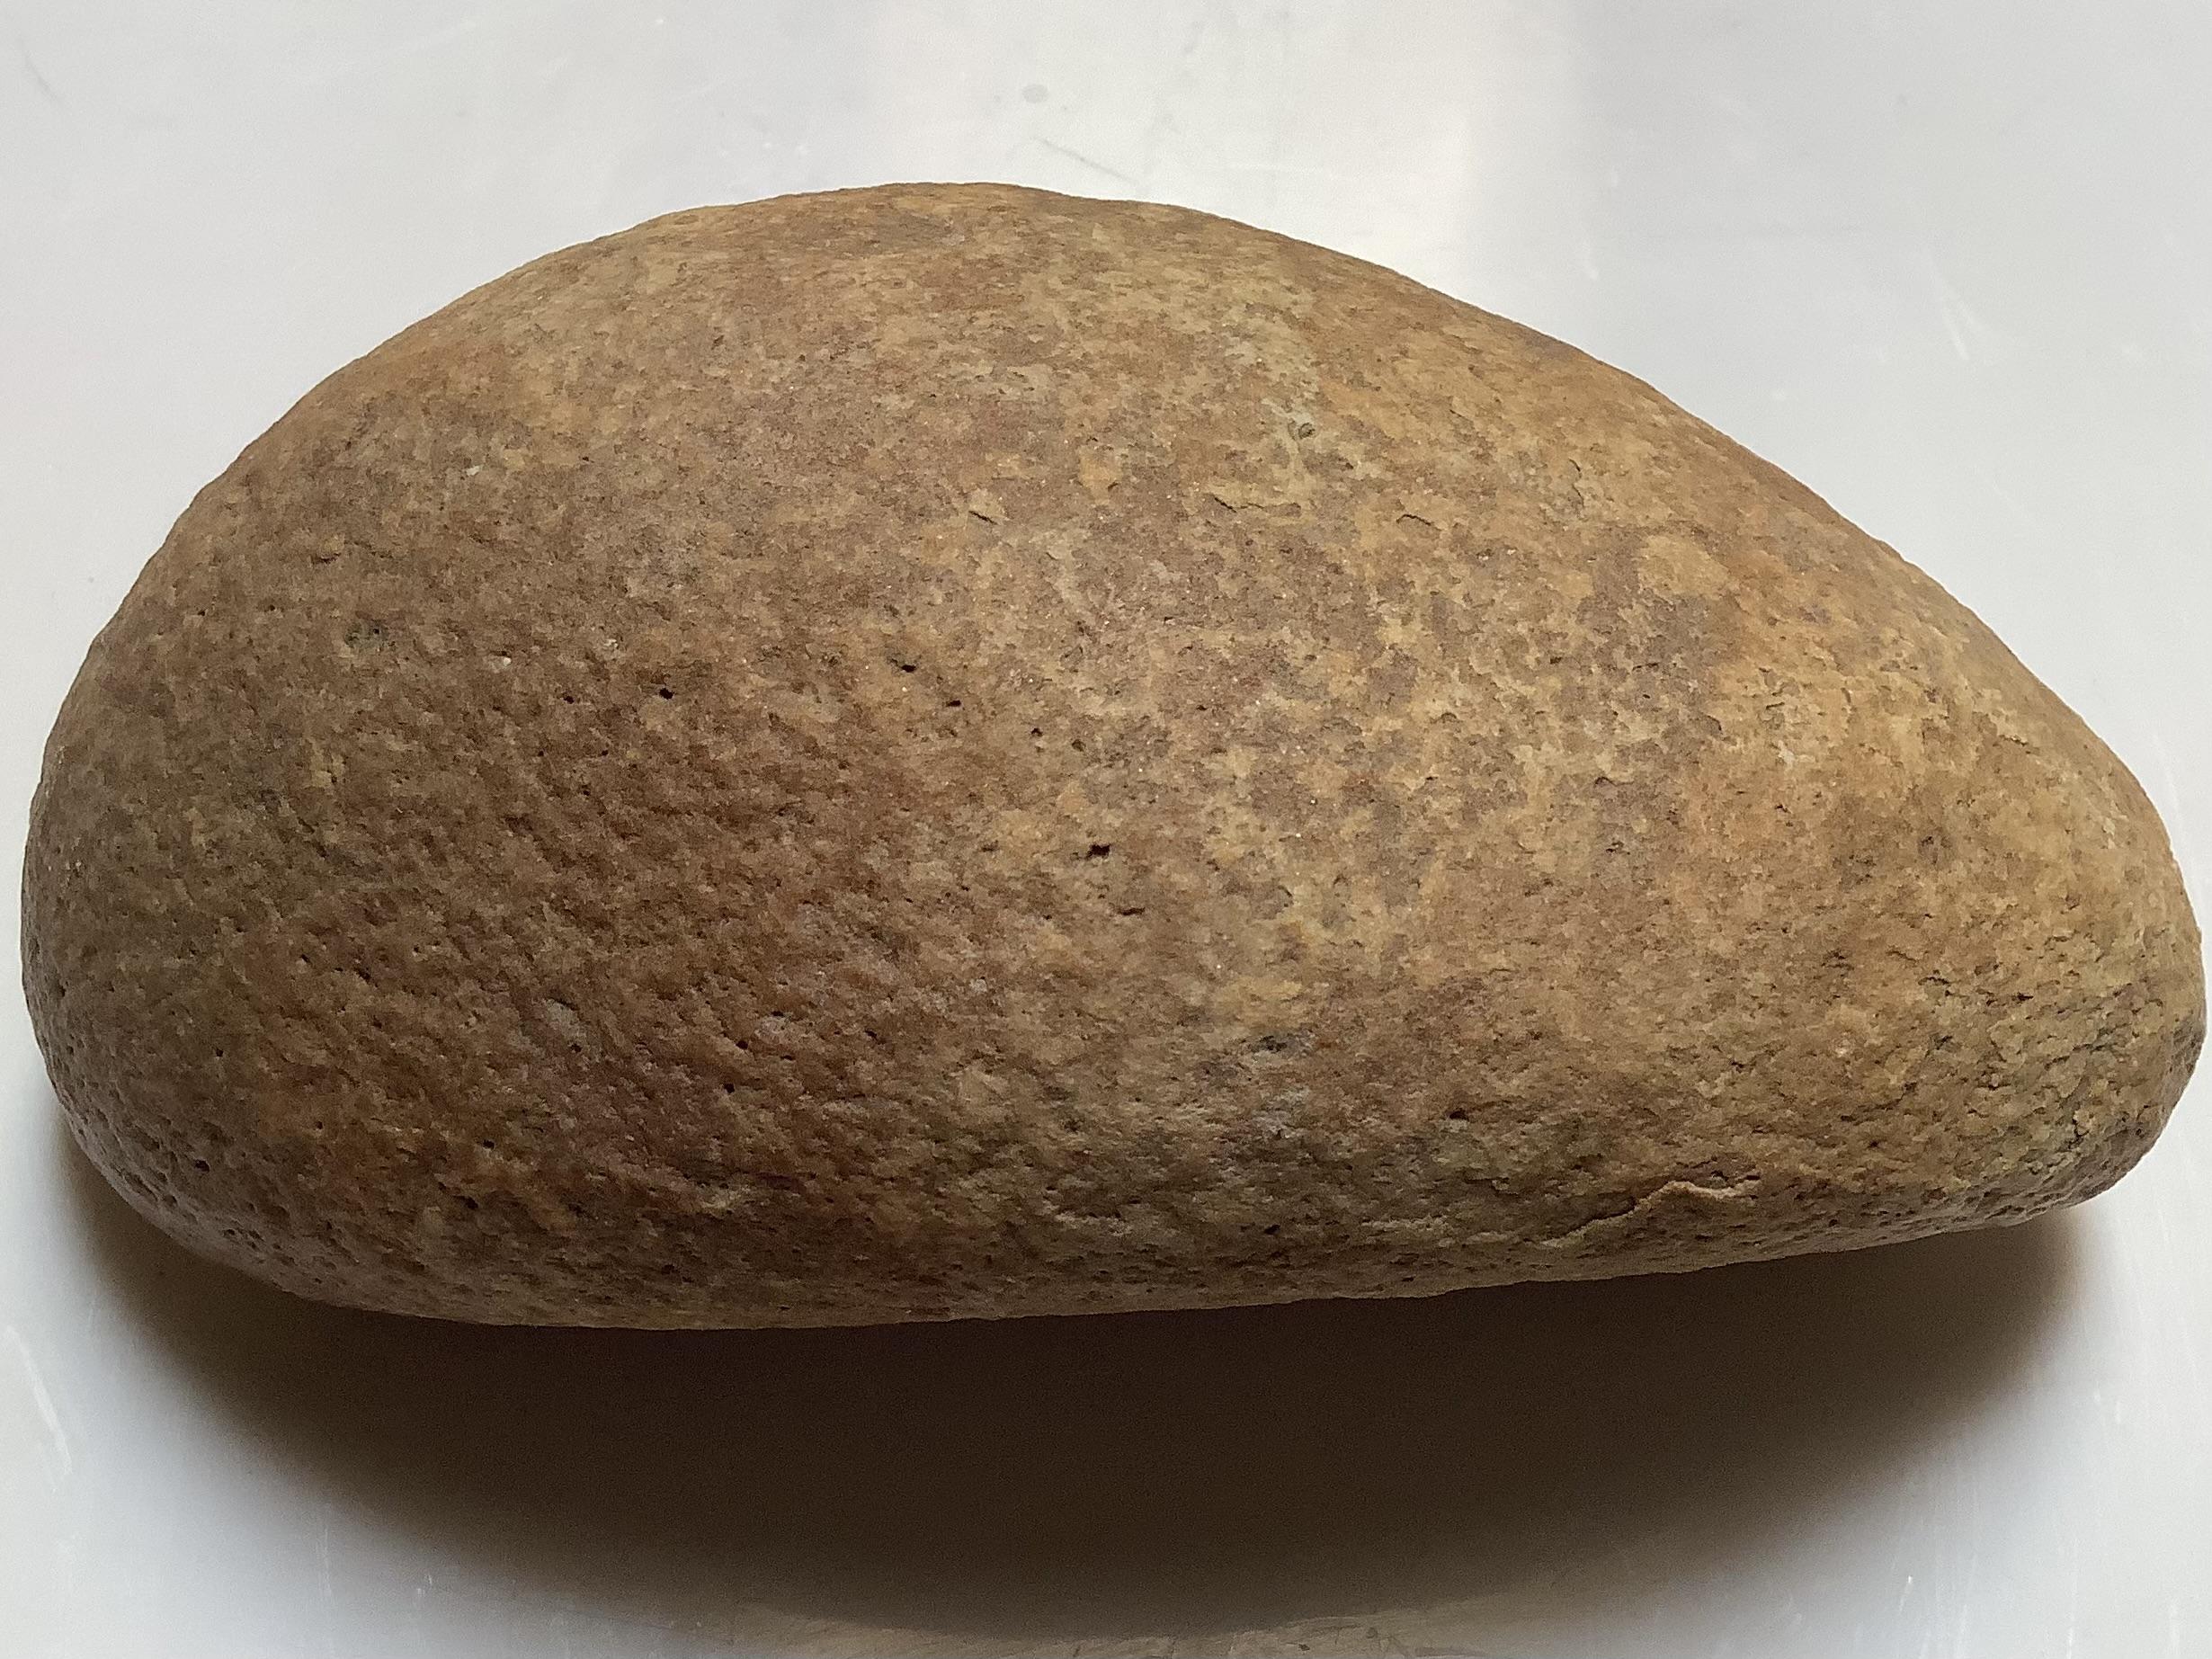
The amount of polishing on both ends of this next piece indicates it was very well used. The orange-peel-looking texture from pecking is obvious and covers the piece. If you take the time to look at this piece under low magnification, you will see repeated blows from the same-sized and shaped tool that was used to create it.
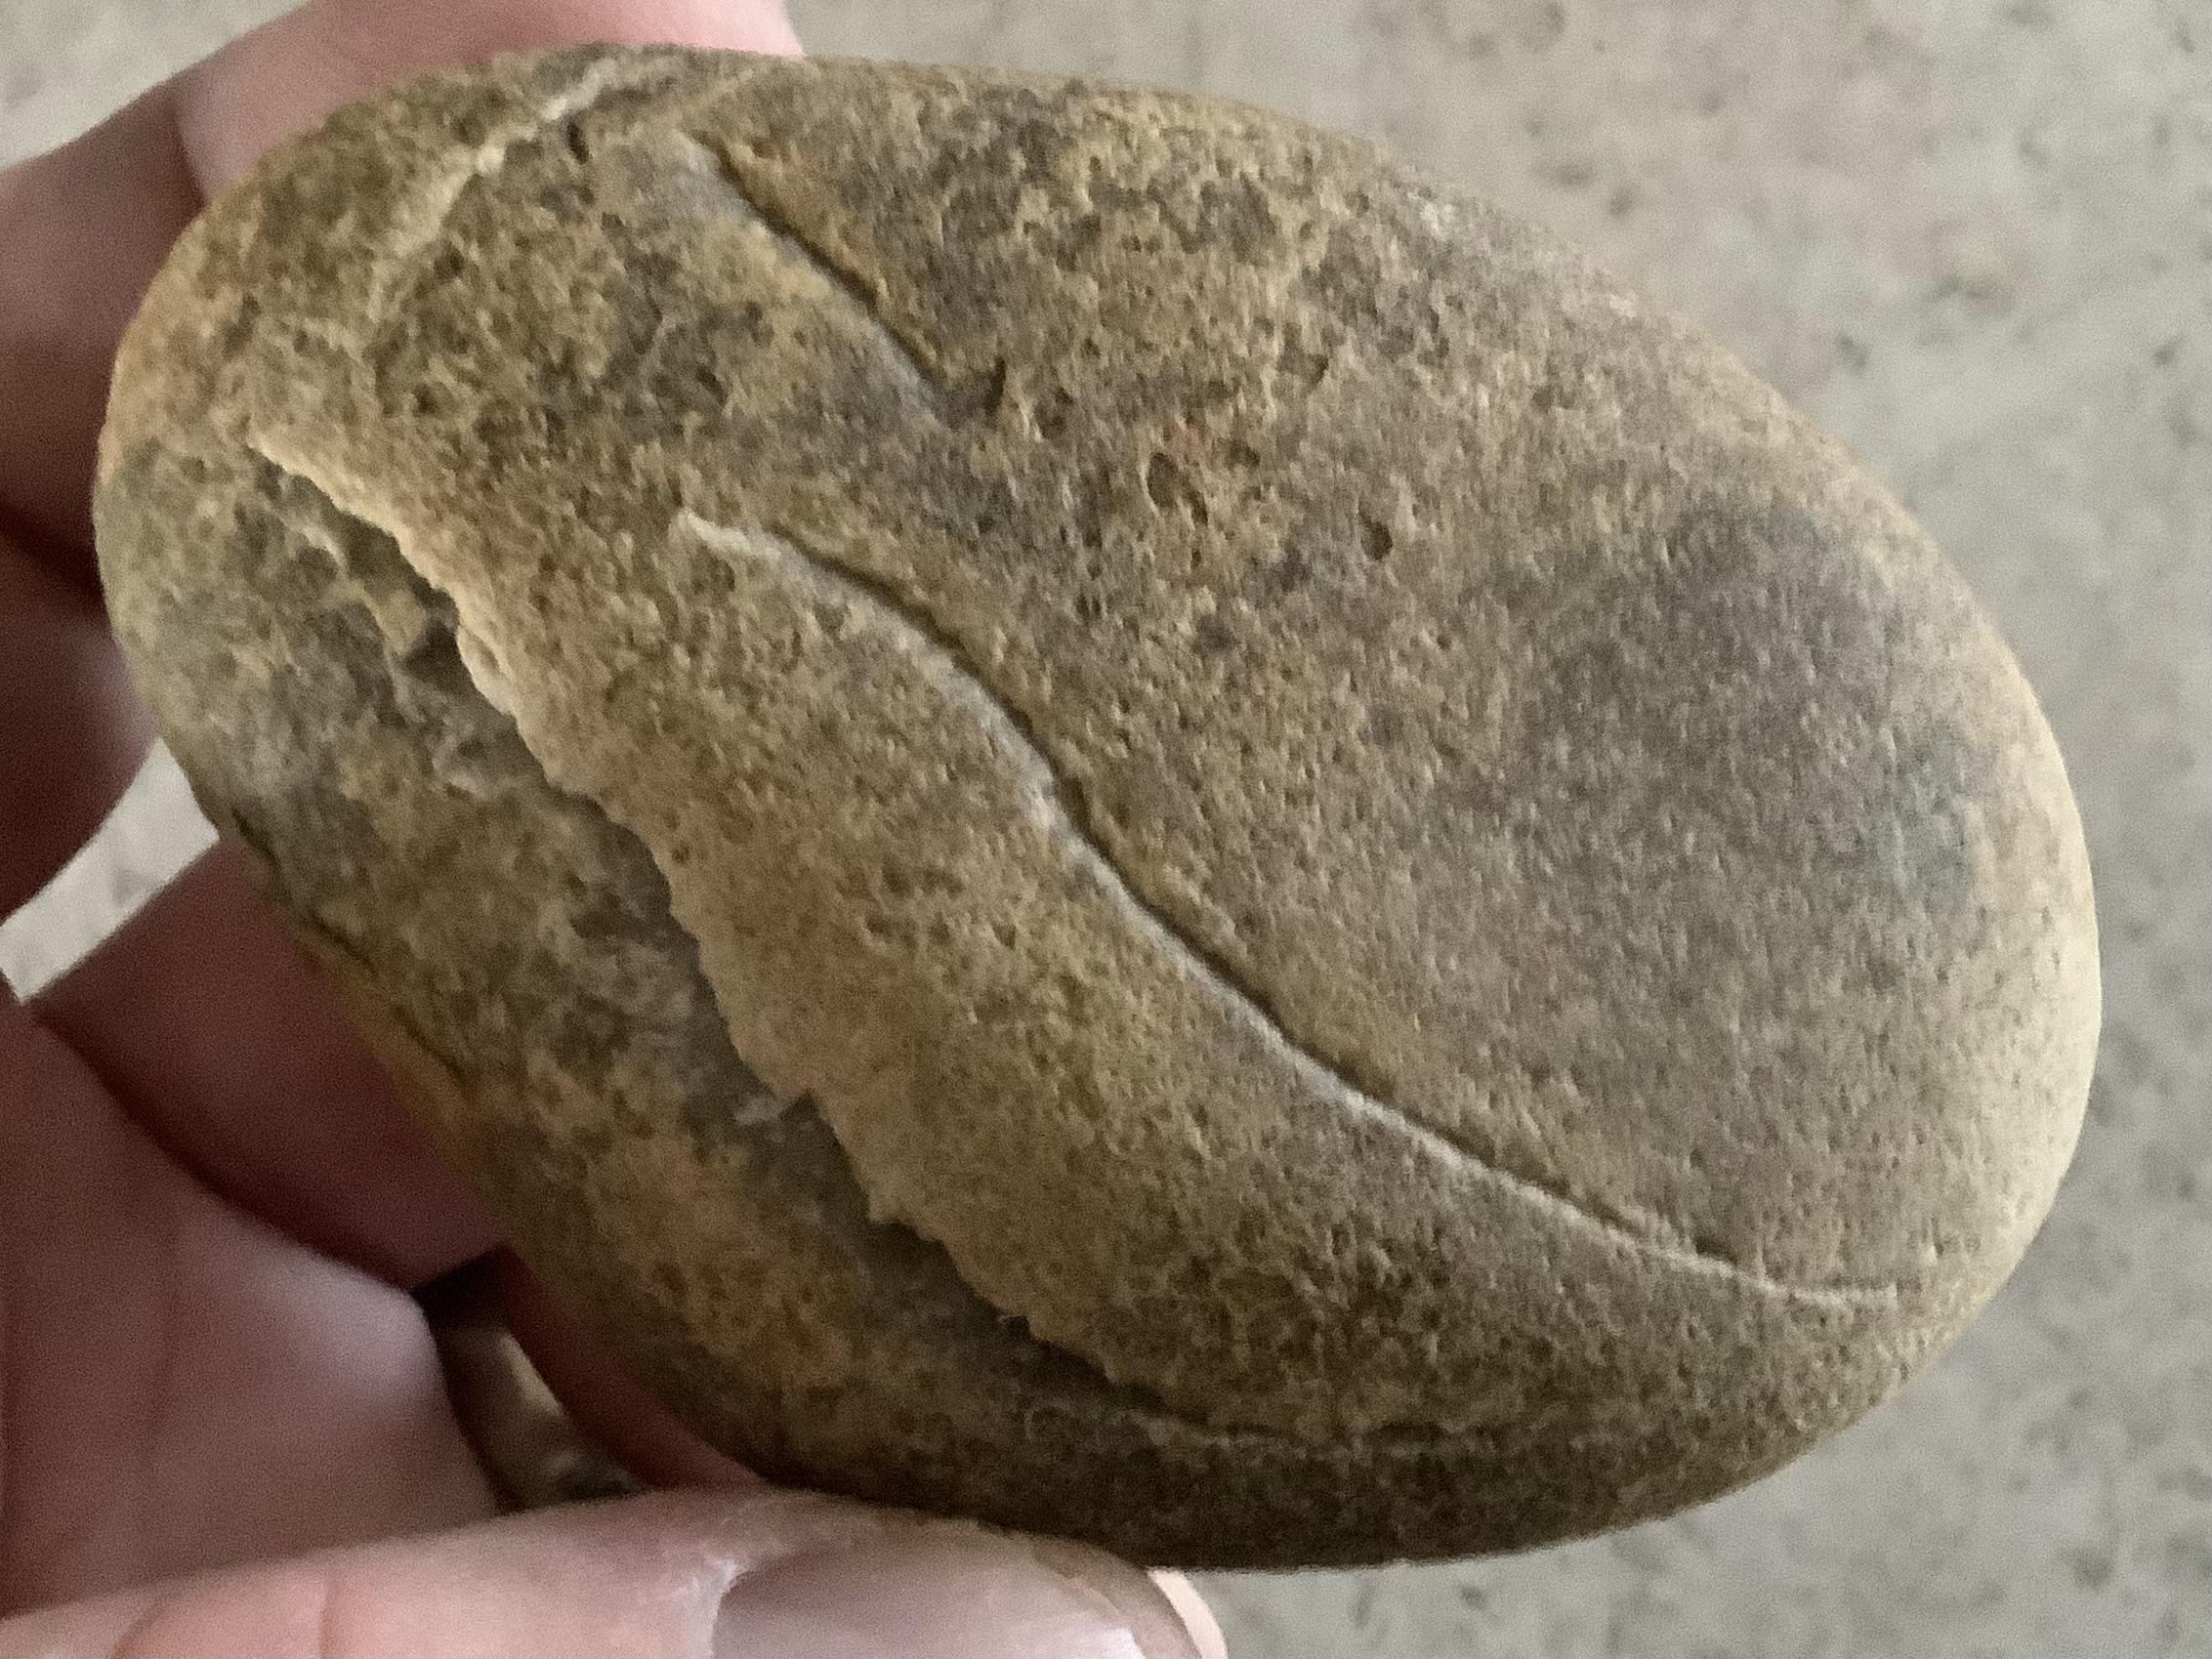
The next picture is interesting because it shows three distinct features. First is it’s covered in pecking marks. Second is the highly polished area from it being used as a tool, and third is the whitish damaged area with what looks like stress fractures from being hit against something hard. I have two of these. Same size, same shape, same marks, same areas.
Both sides were heavily worked with a pecking stone.
The next piece has an interesting pattern pecked into one side. If you look closely, you will see the repeated strikes by a fairly sharp pecking stone that were required to make this interesting pattern. You may also notice the right side looks to be smoother and has a more polished or ground-down appearance when compared to the left. The colour is also lighter.
The back side is also heavily worked and is covered in pecking marks. On this side, with the right light and under low magnification, you can clearly see fine striations (tiny scratches) from it being used. The black colour on both sides looks to be a residual stain.
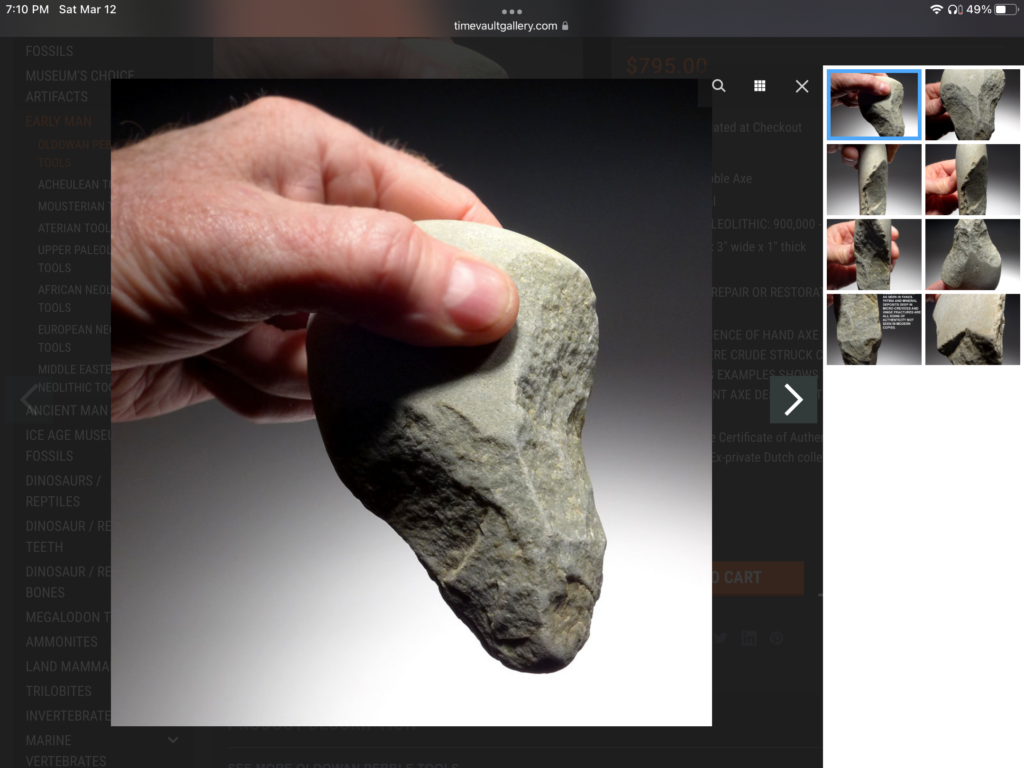
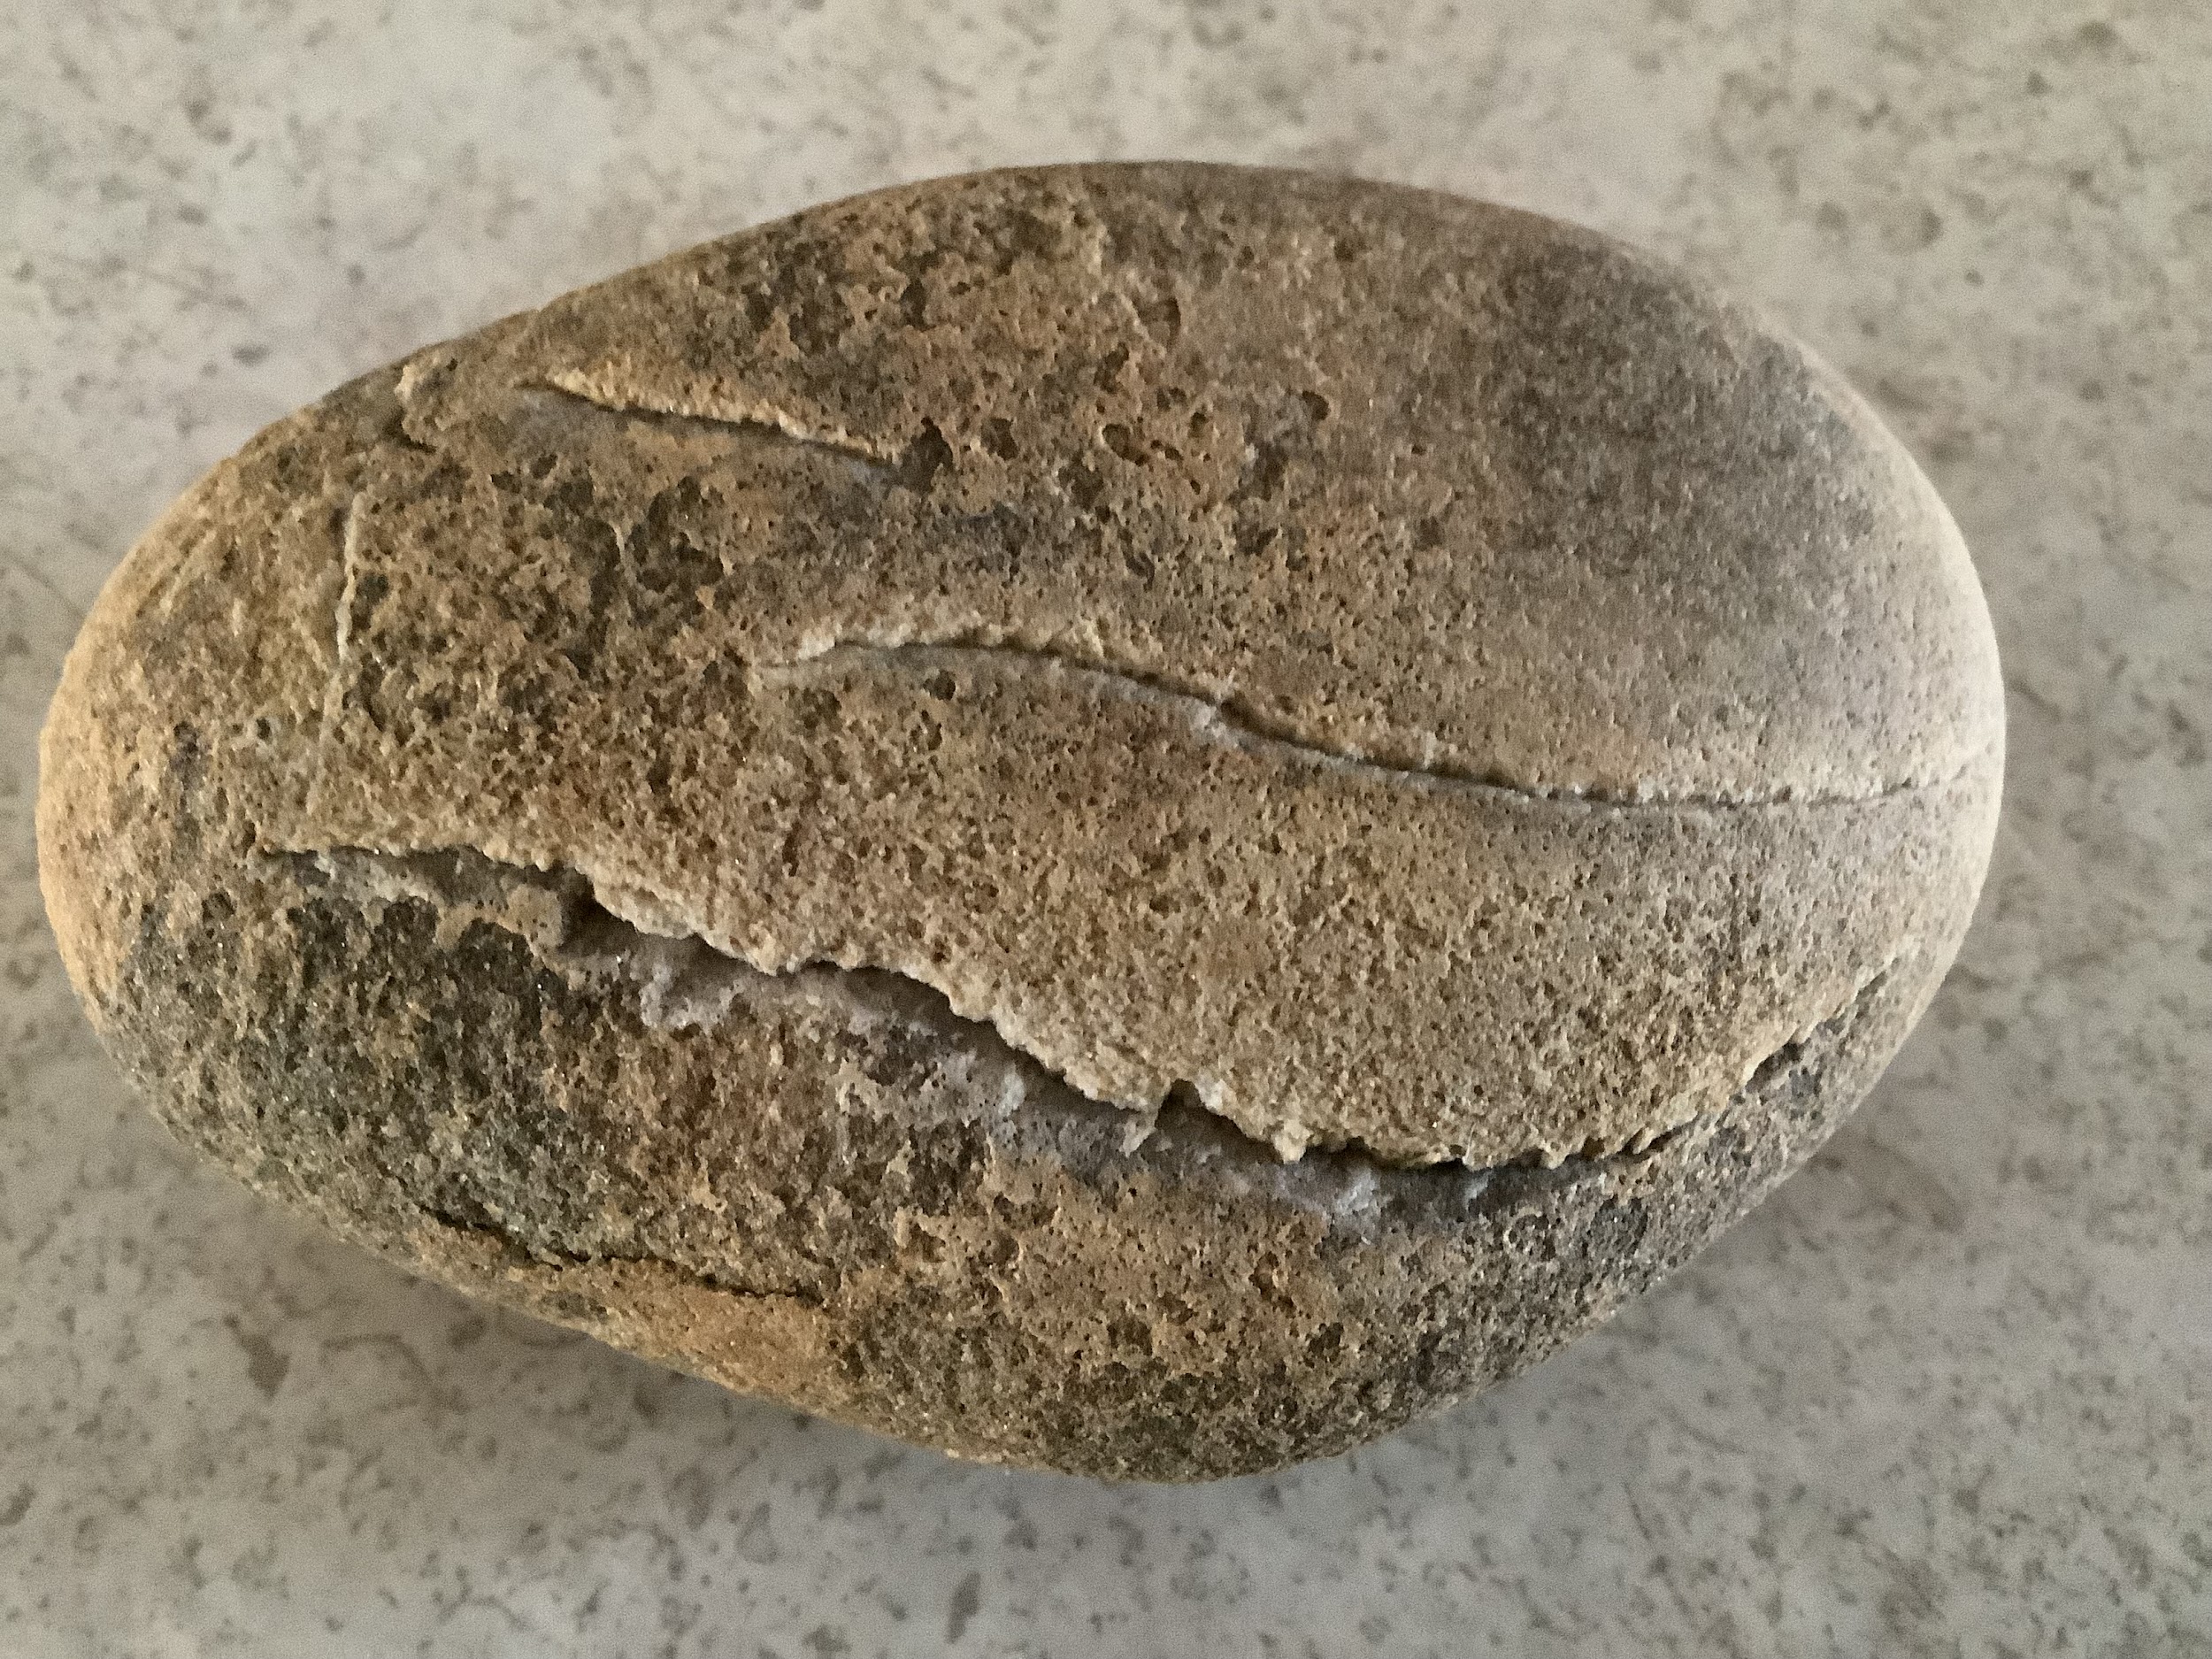
Here is an example of similarly looking pecking marks on an “authenticated” hand axe from Portugal. The basic design is common, and it is similar in size and shape to the pecking stones pictured above. This piece looks to be significantly weathered.
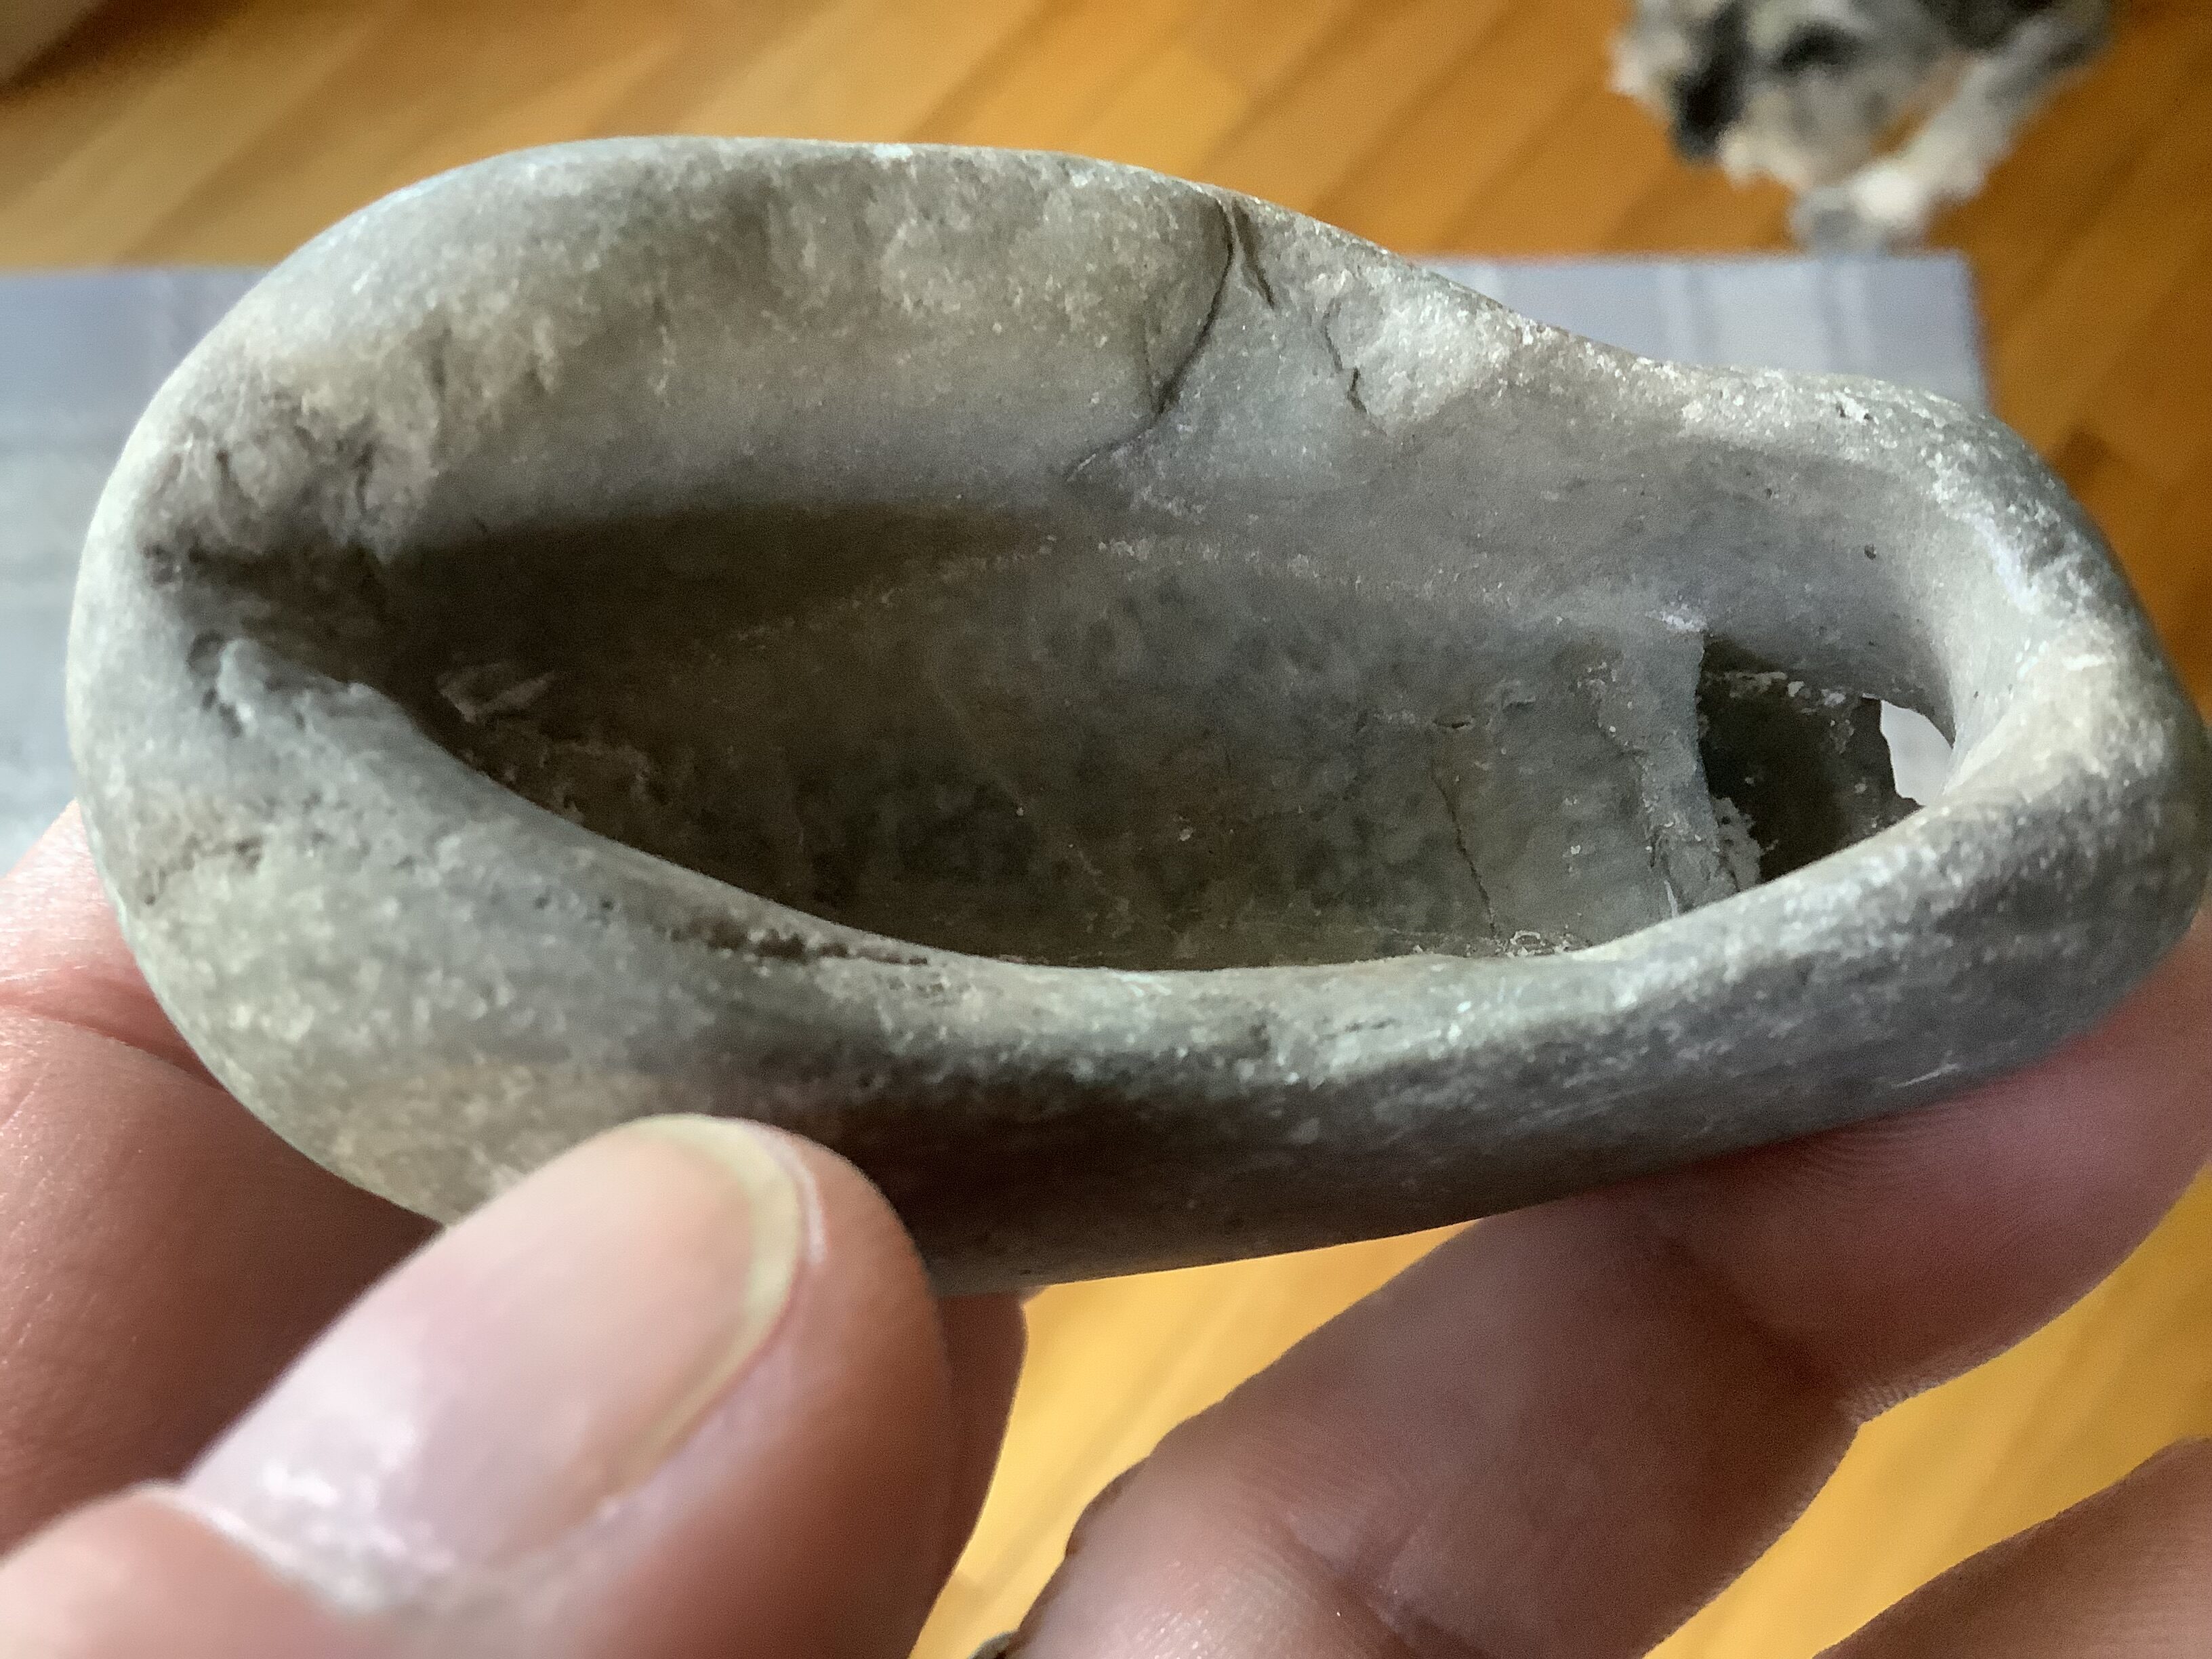
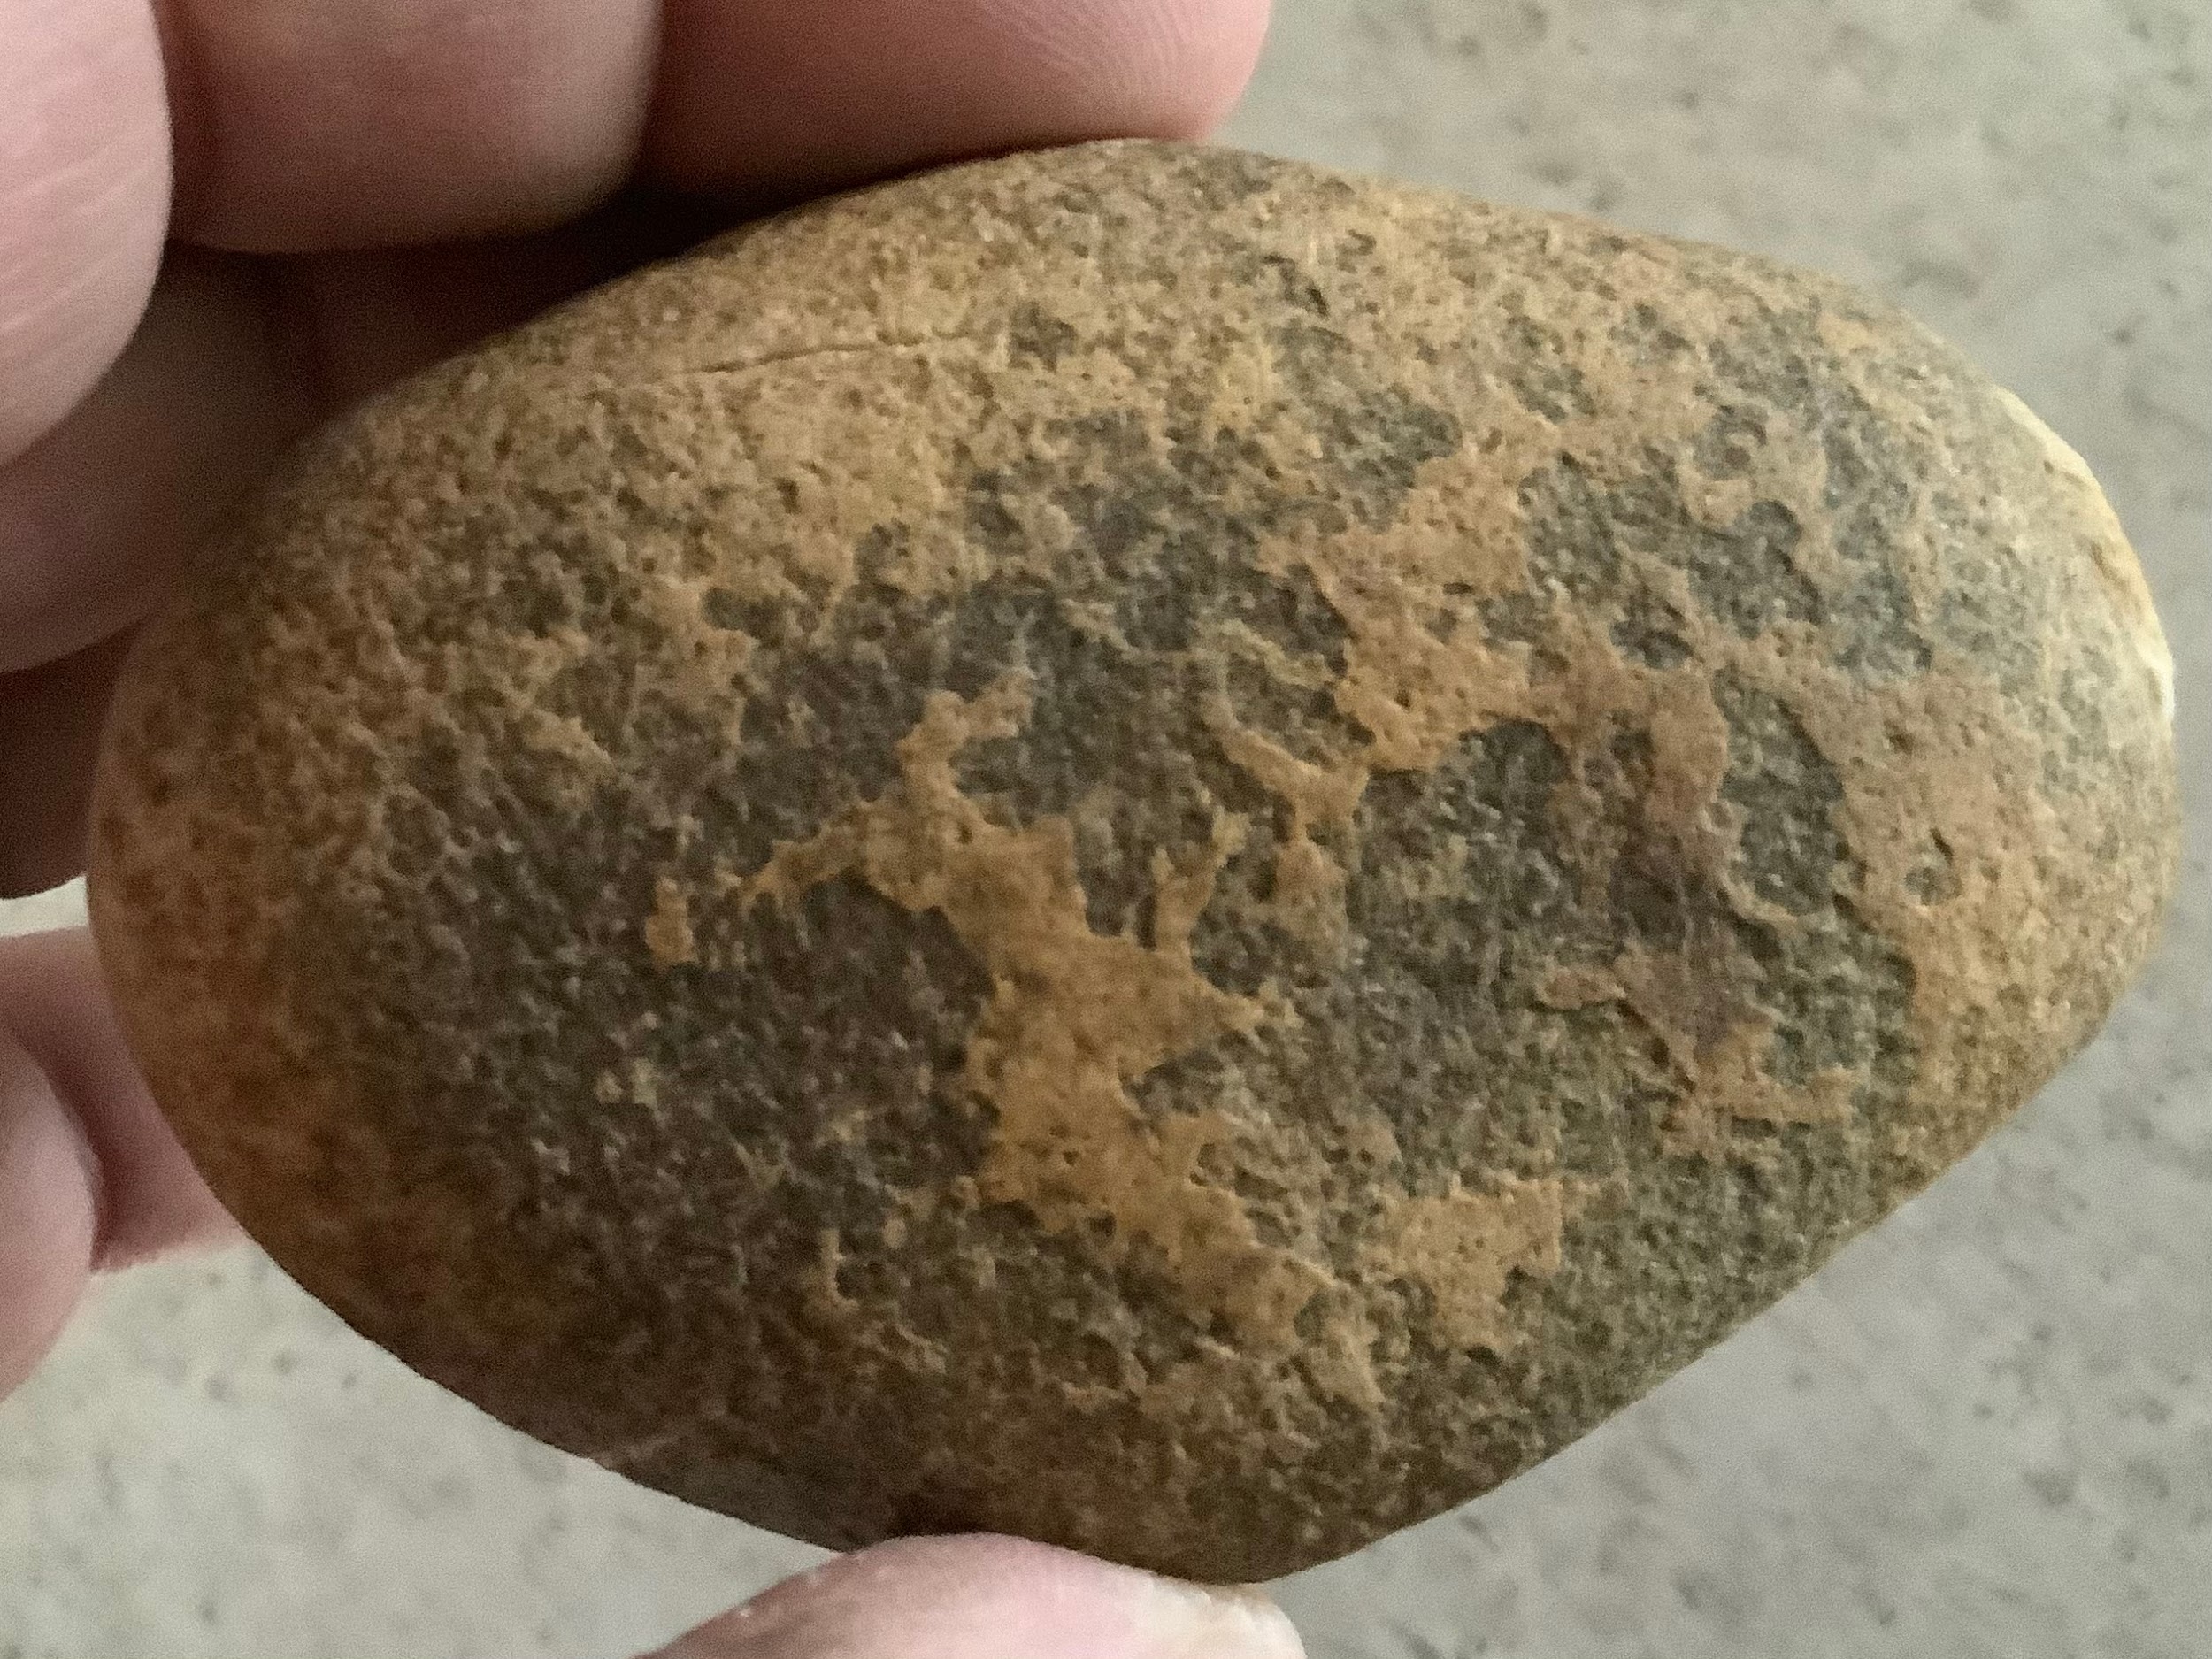
Similar pecking marks are clearly visible on this side.
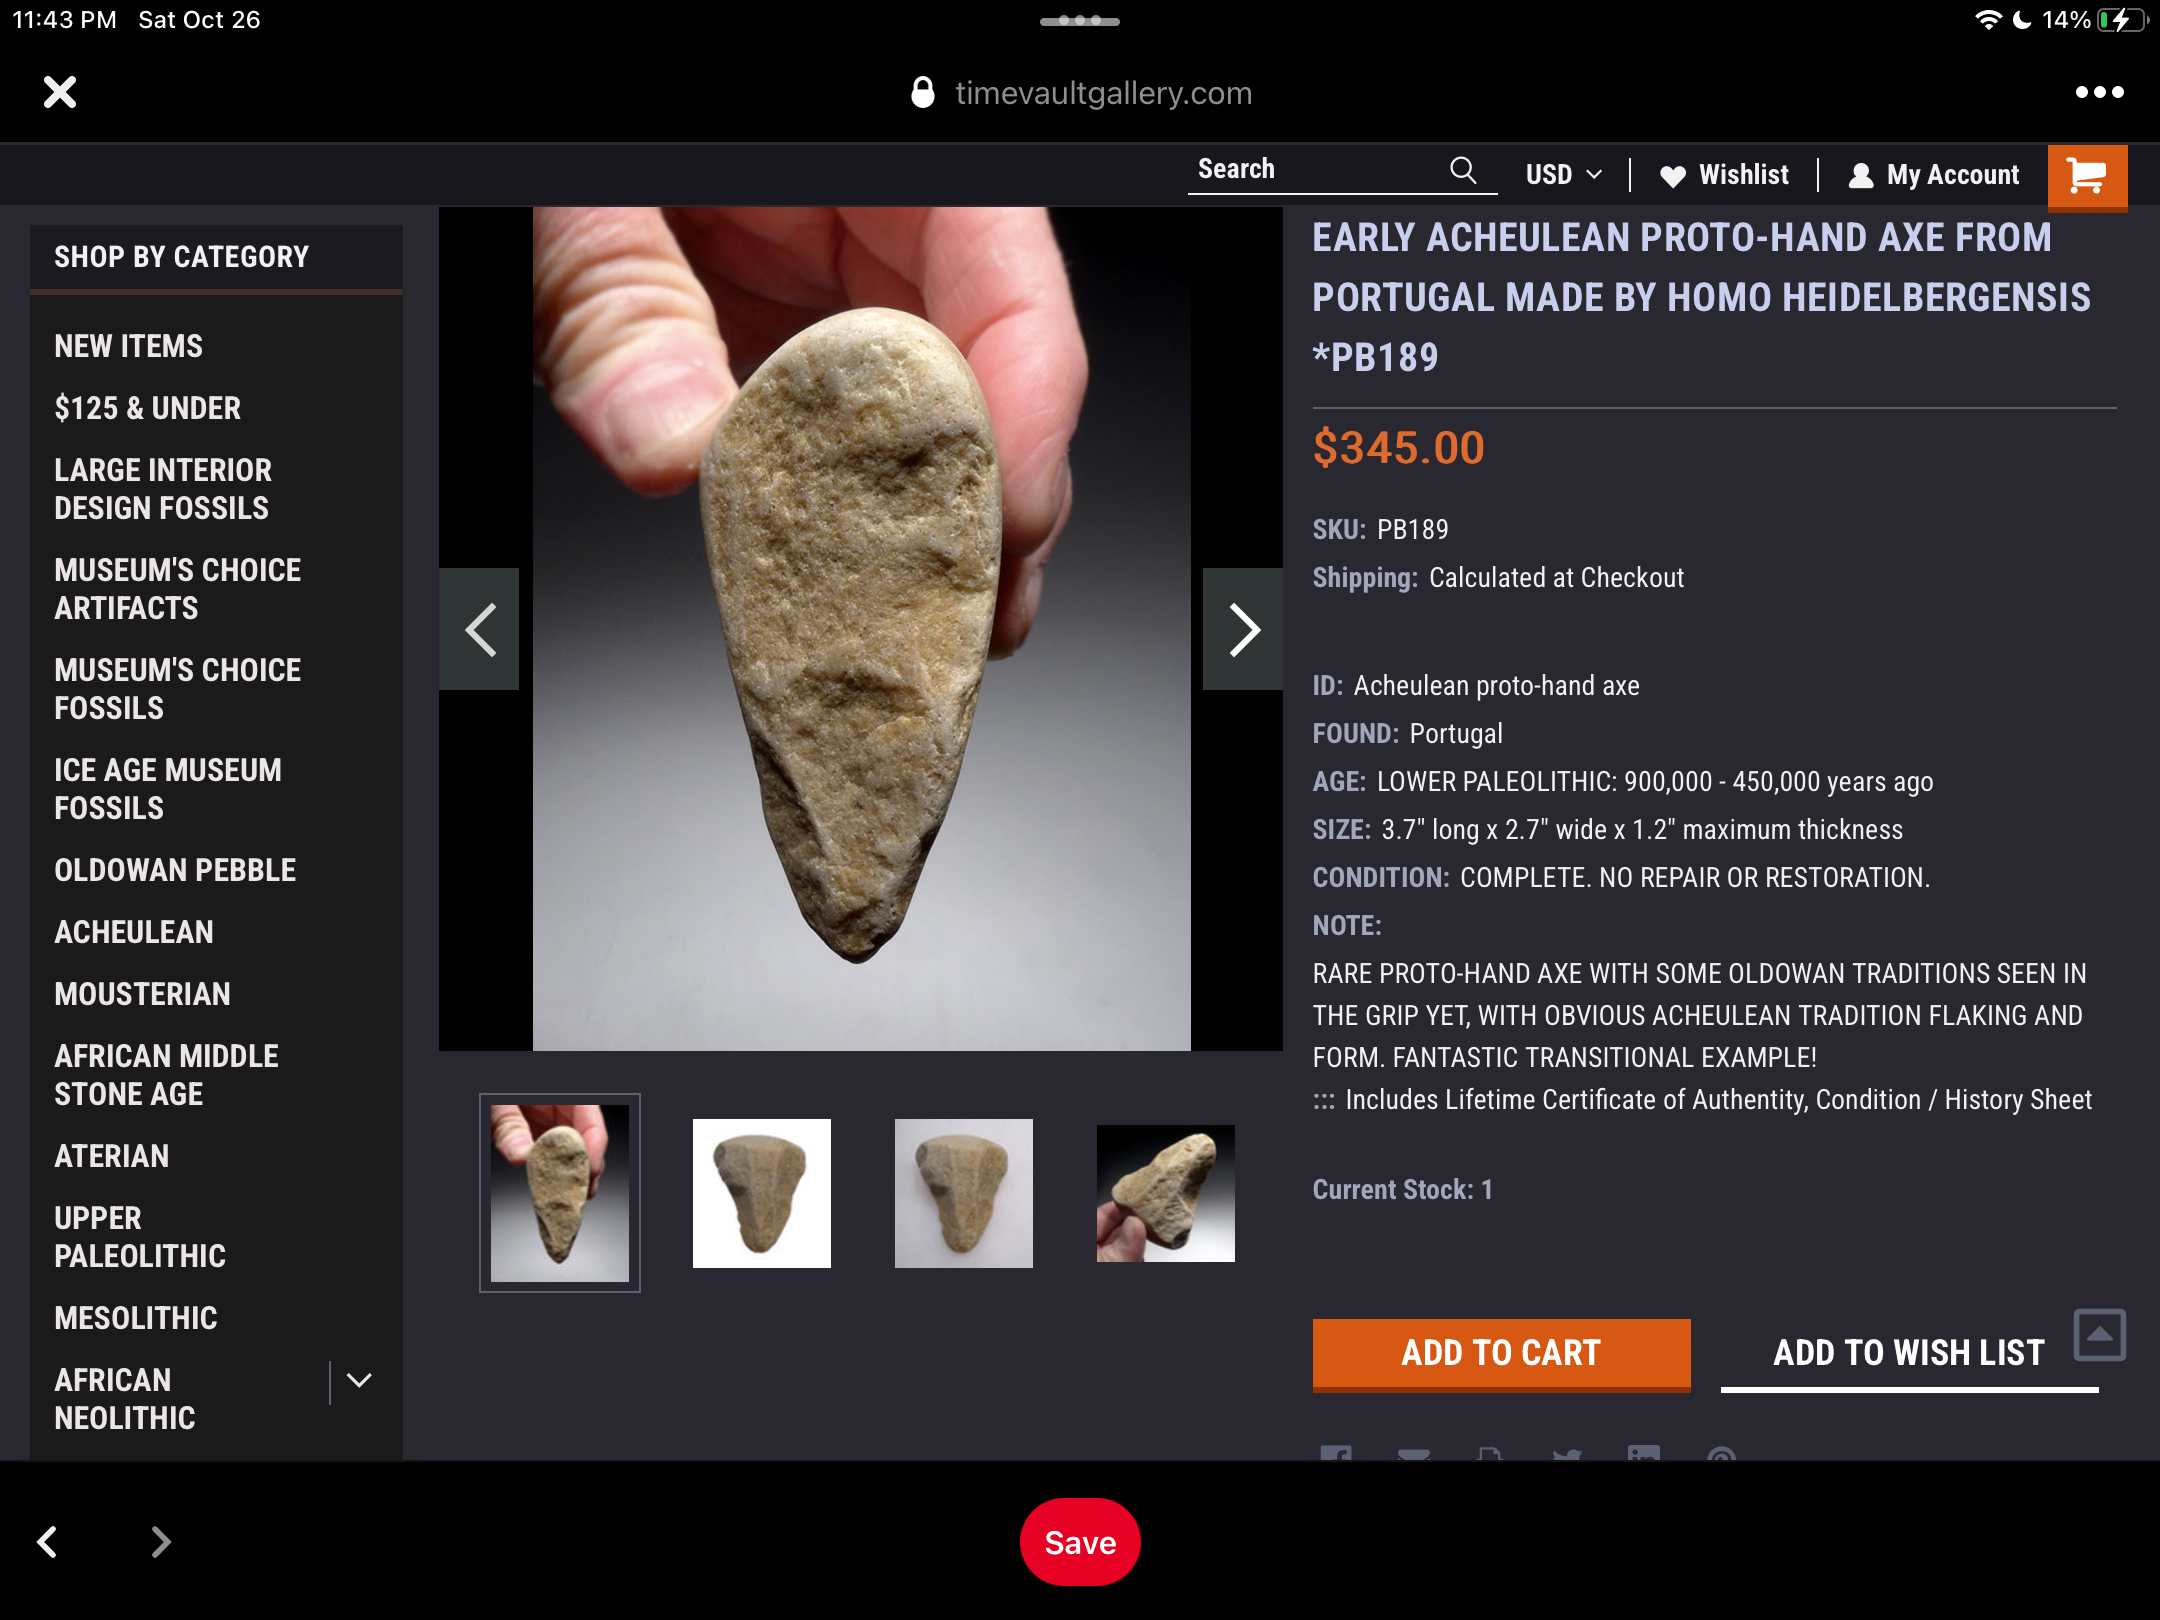
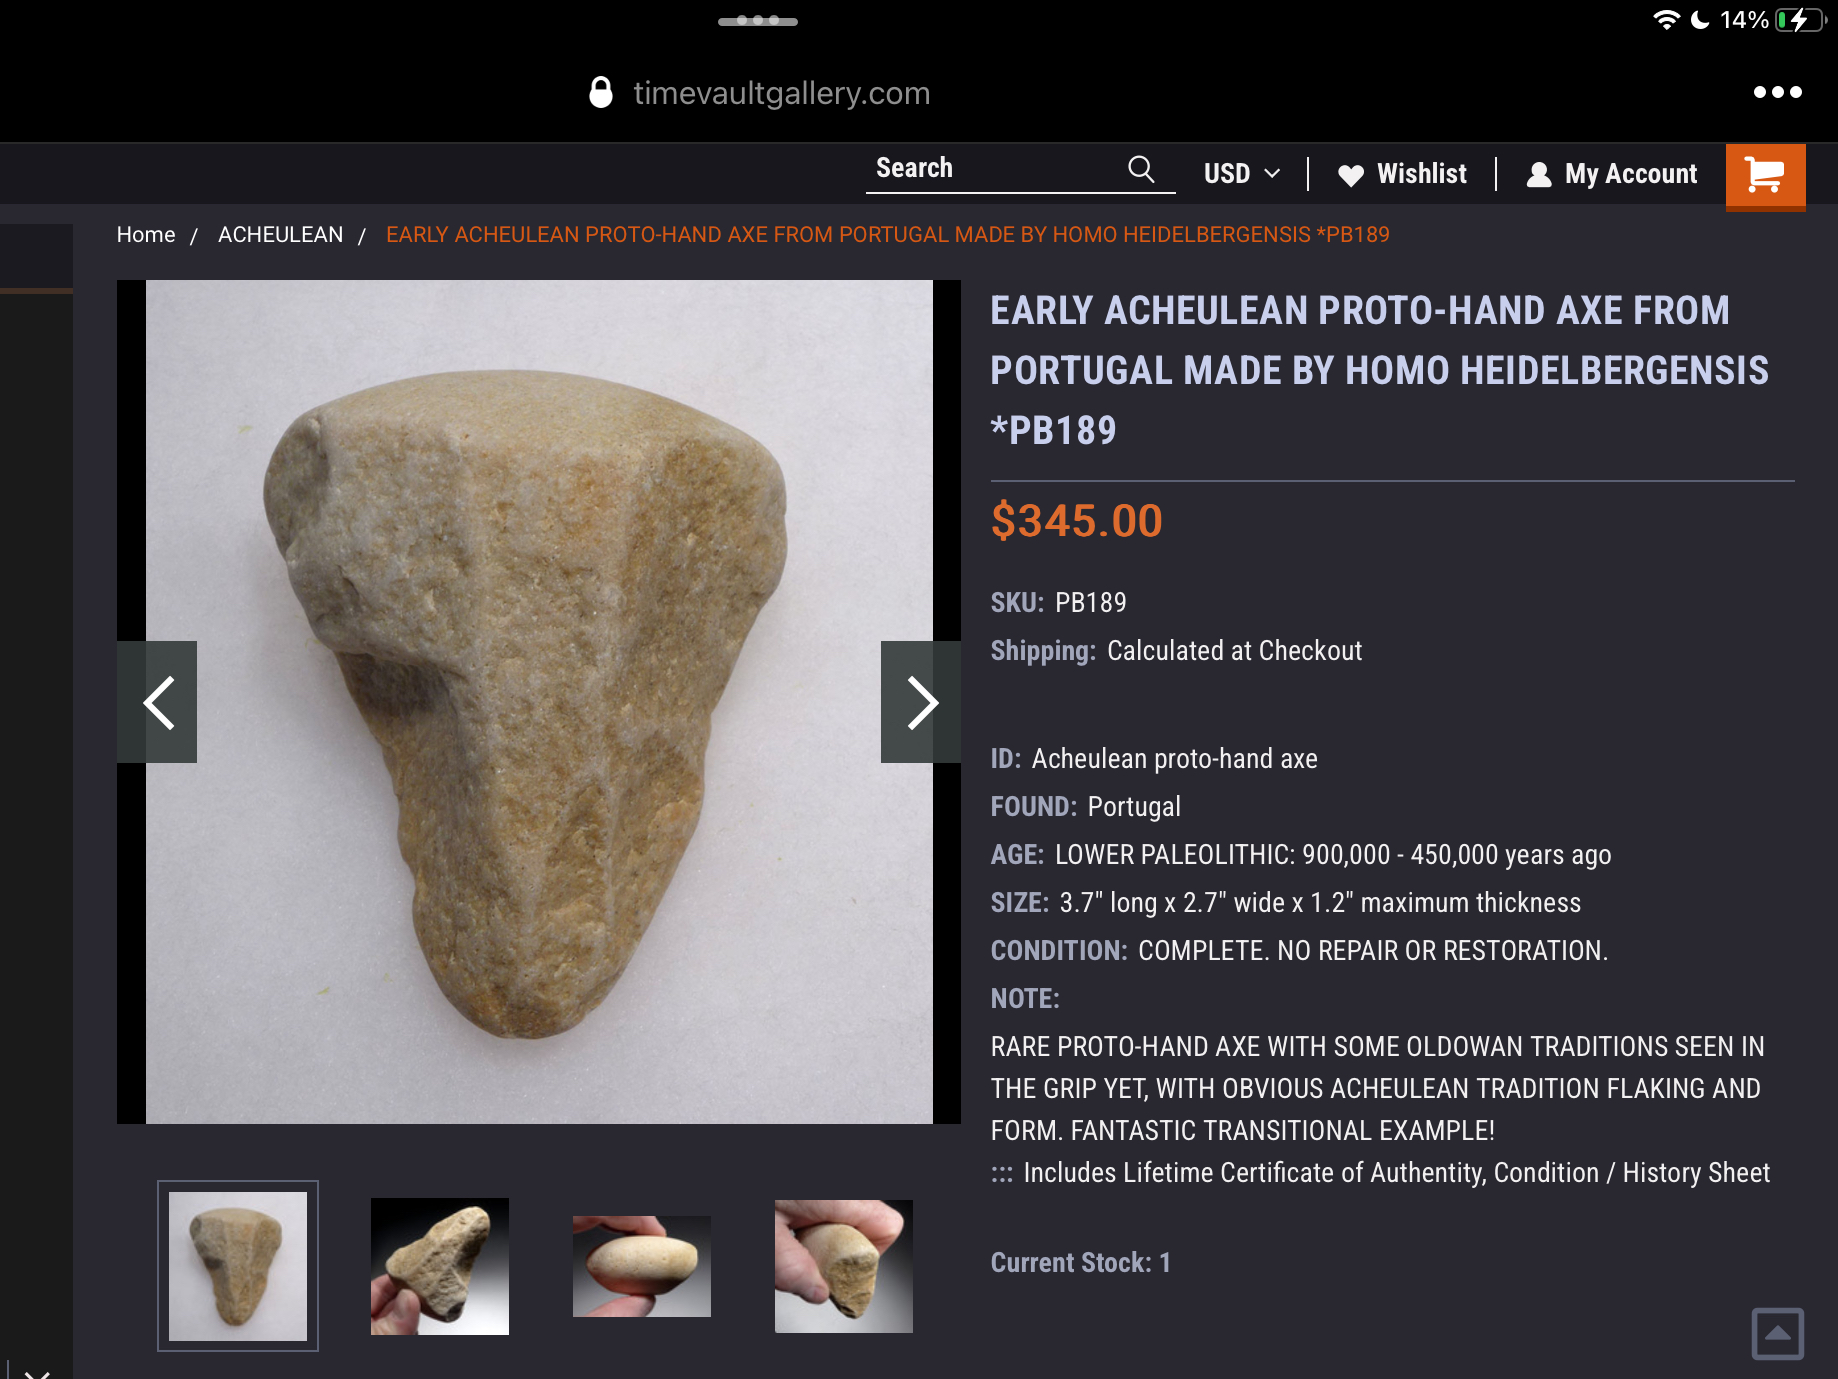
A different authenticated tool that I found online. Although this piece also looks to be fairly weathered, the pecking marks and overall design are the same.